Fossils: the Art Elements reveal for November!

Welcome to the (slightly late) but inspired by ancient… fossils that is… Art Elements revel post! When Niky chose this theme I knew I had a plethora of choices by my talented team mates and Mother Nature herself…

And I chose something completely different. Ok Muse – I hear you!

On and off since this summer I have been working on new pieces embedding crystals into polymer pieces, creating a crystal terminal/point on the base of the piece:

The owl prototypes – they were extremely popular.

I have been planning more in this series, and sourcing amazing crystals – stay tuned for that. But this month an unlikely item caught my eye: a megalodon tooth. (wiki). I believe Lindsay sent me this as a gift?!

I knew I wanted to make a goddess figure – so I started the sculpt with her body in granite polymer. She has fine line striations to match the tooth’s texture. To adhere the two I sculpted a connection in Apoxie sculpt – and textured it as well. I am SO sorry I didn’t take a pix at that stage! Here she is done:

And with another fossil from my stash, I tried another style – embedding the fossil. ( Also granite polymer)

I am really pleased with how they turned out and look froward to more along this theme. I imaging them in shadowbox frames, with a felted beaded backdrop? Or handheld pieces for table or altar? Or both…. Excited for the new work the new year will bring.

But for now – wishing you a happy holiday weekend for the US crowd, and happy fall to everyone else –

OH – Dont forget to hop :

AE Team

Jen

Lesley

Sue

Claire

Jenny ( you are here)

Niky

Guests

Cat

Tammy

Susan

Dawn

Michelle

Sarajo

Evie & Beth

Divya

The eyes have it: the Art Elements theme reveal

“The real voyage of discovery consists not in seeking new landscapes, but in having new eyes.” – Marcel Proust

Eyes: Lisa Peters, Joan Miller, Diane Hawkey, Laney Mead,
Andrew Thornton, Peacock Beads

Thank you Laney for such an inspiring theme this month – and World Sight Day on October 12th! As you can see from the photo above – I had a plethora of pretties from which to choose. And yet – it is halloween month – and this happened:

So my $3 plastic eyeball – plastic. Hmm. I cannot set it in polymer. I wanted to go with something ornate, maybe a bit Victorian, and a bit Gothic. I used the polymer piece I was imagining – and then after curing it, set the eyeball. The bezel is Apoxie clay. Acrylic paint to bring out the texture… ( Now I think I want to do another with Swellegant and crusty patinas… )

The next 2 pieces are based around very bling-y eye cabs by Megan of Peacock Bead Shop. The first – in turquoise and cobalt was near impossible to photograph. The top cab is mother of pearl. The bottom is a faceted plastic? that shines like a bike reflector in person! Things have been really hectic this month with travel and teaching and shows… so it was a necessary Zen moment to sit and bead on these eyes!

The second piece will be for me! I was playing with different quotes and layers of meaning, thinking on seeing is believing, trust your path, envision your future, manifestation… so the compass was my first choice. I am thinking of hanging the beaded piece off the sterling banner – and stamping it with…? Latin? Welsh? I do like an obscure hidden meaning in a talisman. Or do I repeat the circular motif and dangle the “soul” charm? What, dear reader, would YOU do?

“Your vision will become clear only when you can look into your own heart. Who looks outside, dreams; who looks inside, awakes.” – Carl Jung

I look forward to hearing your thoughts! And before you leave – make sure to click through – it is a blog hop after all!

AE Team

Susan  

Marsha  

Claire  

Cathy 

Jenny  

Niky  

Laney

Guests

Dawn  

Hope  

Beth & Evie  

Kathy  

Michelle 

Tammy    

Cat 

 Elaine

Octopus – the Art Elements theme reveal

Claire has a deep love for octopus. If you know her – you know this. So it wasn’t a surprise when this was her selection for the theme this month! Personally I find them alternately beautiful and creepy, yet utterly fascinating. They are chameleons, and very intelligent. (Image from this NY Times article)


CreditCreditFred Tanneau/Agence France-Presse — Getty Images

I sat down to bead – to bead a tapestry with the perfect enameled Octopus by Anne Gardanne.

I was thinking. a felted and beaded tapestry .I tried out ideas for an embellished frame that wold have embedded shells in Apoxie clay. I wove ribbons of hand dyed French silk ribbon amongst the tentacles….. Nothing. The Muse was not a-mused. ( I set this aside for another day. )

See what I kept thinking of was a mermaid. Who says they all have to have fish tales. I mean, Ursula the Sea Witch was an octopus. So I went to one of my all time favorite artists for inspiration. Alfonse Mucha.

This is “Dance” completed in 1898. It was the figure reface I needed – clearly Mucha in style, with clear lines to alter the lower half of the figure. And I traced it – full disclosure!

I drew my own decorative elements, and did line work in sepia permanent marker. I painted happily one afternoon – a break from the studio – red hair, aqua waves, and a mottled background.And then tackled those tentacles!

I started a base coat of watercolor. I had masked off the edges a little…. I planned on using salt in a wash to get speckles. But I had small salt, and it wasn’t dramatic enough – so I started shattering! What a wet mess and SO much fun. Then I added some Brusho pigment crystals…

Wet and wonderful

I had thought about drawing in the suckers with white Gell pen? Or painting a hint of them in watercolor… but the Brusho are so intense they kinda ruin a piece for working back in. They also splattered past where I had applied Maskit and are very hard to cover! ( They reactivate with anything wet…) SO I think I am done!

This was just what I needed – to paint for pleasure. Thank you Claire for a great theme. Oh – Zoey wanted in on the octopus action too:

Don’t forget – this is a hop! Take a look at other creations from the Art Elements team and our guests this month!

Guest artists:
Cat
Evie and Beth
HopeKaren
Kathy
Melissa
Michelle
Rozantia
Sarajo
Tammy

Art Elements Team:
Cathy
Claire
Jenny
Laney Lindsay Marsha

Flowers – the Art Elements theme challenge for July

I left for Wales as the month began… on a trip with family that was part heritage tour and part vacation. ( In depth Wales posts are coming shortly.) I kept flowers in my mind as I was touring castles, exploring old seaside villages, hiking in the national parks…. It was an amazing transformative trip, and I will be feeling and seeing the creative effects of it for a long time coming.

But after returning home, and catching up on sleep, laundry, household chores… there was very little of July left for me. I offer you some works in progress for this month – inspired by the theme.

The first showcases these vintage glass pieces. I do not know anything about their original purpose – but when I saw them – I saw frames. ( Sadly there was a blue one too. The set of 4 made me think – 4 elements. I was only able to procure these three.) They have no holes or fasteners/bails of any kind. What do you think they were?

After sorting through many folders of vintage and antique papers ( did you see my post on my paper class with Keith LoBue?) I found some images in the right scale. Two were antique cigarette cards, the other an image from children’s illustrated encyclopedia. ( Yes – mine form my early childhood) I added gesso to the images outside the window area to cloud the colors – I didn’t want them showing through the glass.

Above you can see the copper piece engineered to fit the glass. I had not picked up the jewelry saw in months? a year? and it was so wonderful to be back at the bench pin! Below you can see the piece assembled – well, how it will be.

Currently – the images are drying – a coat of Diamond glaze to protect them. And the copper is in the tumbler – left bright, no patina. I plan to add 3 jump rings from the top arch/bail to add the connection point, and a little movement.

These pieces – when done – will be available for purchase at Bead Fest!

I have missed seed beading in all my travels this month – so I prepared a bead piece, wanting to sit and chill and bead. Well, you can see how far I got:

Labradorite and Lisa Peters cab. Waiting patiently on the bead table.

I hope you have had a wonderful July – whether you traveled or not…

For now – please enjoy a bit of armchair travel as you visit the blogs of my team mates and our guests. Thank you Marsha for a fertile theme, where I am sure many ideas have taken root !

Here is a list of our Visiting Artists:
Alysen
Cat
Divya
Evie and Beth
Jill
Hope
Kathy
Linda
Louise
Martha
Melissa
Michelle
Rozantia
Sarah
Sarajo
Tammy

And our Art Elements Blog Contributors:
Caroline
Cathy
Claire
Jenny ( you are here)
Laney
Lesley
Marsha
Susan

We are all stardust… the Art Elements theme reveal

Hello – its that time again!

This month Laney gave us STARS. This is a motif near and dear to my heart… should be easy, right? Well I apologize as I have only a WIP post for you today. With my part time job ( at Sarafina Fiber Arts!) and shows, and a two week plague  ( upper respiratory) I only have a WIP to show you. SO let me get started:

Awaiting paint

I started here with a votive star goddess on polymer. I imagined her, framed in a shadowbox, before a speckled starlit sky…

At Sarafina – I carded a custom blend. Starting with a variegated blue, I boosted the teal and purples. I was seeing the background as a wet felted piece.

My custom carded night time batt

From my stash at home – I added merino wool in teals, white nepps, dyed silk, and twilight sparkly Angelina fibers…

The assembled ingredients.

After wet felting – it didnt go as I had planned. I did not get complete adhesion between the fibers, and it is too large. ( I used wool batting as a core of sorts, and the piece shrunk much less) I can work on this agin to try to bond the layers.. .but for now – I will set it aside.

Purples and teals…

details of silk and nepps

I did two smallish pieces at a time. This one in a more teal palette makes me happy! But it sill needs a little work. And with the business of the fibers – I think less beads would have been called for…

teals and blues

The spiderwebs of silk…

The new plan is this: Beading on a piece of felt  – created from felting a cast off sweater. It had a nice heathery color and I can bead a galaxy of sorts swirling out from the star goddess. I am seeing her embedded in epoxy clay, amidst crystal shards in the bottom of the frame.

I am so sorry I couldn’t do more for tis theme! But I will finish – and for now, why not hop over to my team mates and our guests?

Thanks for stopping by. Enjoy!

Guest Artists
Art Elements Team

Faeries – the Art Elements theme reveal

This month flew by on gossamer faerie wings. Or a mermaid retrieved it from a shipwreck to hide in her undersea lair. Or a green fae woodland spirit absconded with it- hiding it in a hollow tree in a mystical wood. Whatever the cause – its reveal day! And this theme is one I work with frequently. Caroline introduced it – and I shared some fae inspiration earlier this month on the blog. I have a few different things in progress – let me share them with you…

A few months ago – I pulled four fairy cabochons. My fairy design is very butterfly inspired – as I think butterflies could easily be faeries in disguise. There is also a nod to The Preservers of Elfquest – a graphic novel/comic series that had been a huge part of my fae aesthetic since I was 12! (That’s a whole other post!)

I haven’t gotten any further than pulling beads… these four are Earth, Air, Fire, and Water. I plan to start the bezels all the while designing the surrounding bead embroidery to reference the elements.

With my schedule a little hectic ( who am I kidding? its crazy!) with fall shows – I have been glazing a few variations on my Faerie tile. One of the things that keeps this from boring production work is individually glazing each tile differently. My glazing style involves quite a bit of detailed hand painting in underglazes. This trio below shows you some of my fairy themes: Earthy with a seedling, celestial with the Earth/moon backdrop, and an ethereal Celtic version.

I did have a chance to play a bit this month: I received a printed moth paint/embroidery kit from Lesley for my birthday. I want to paint some, bead others… but one large one had to be a faerie! (The directions recommended a thin coat of white craft glue before cutting to prevent the fabric from fraying… )

IMG_0471

Painted in thinned acrylic, ready to cut out.

IMG_0484

She will flutter over my reading chair…

I think she is a perfect fit with this stoneware goddess pendant. I think I will hang her in the studio…

IMG_0489IMG_0488

Please join us in the hop! Links to participating AE members and guests are here:

Guest Artists
Cat 
 
Art Elements Team
 

Helianthus. The Sunflower reveal at Art Elements.

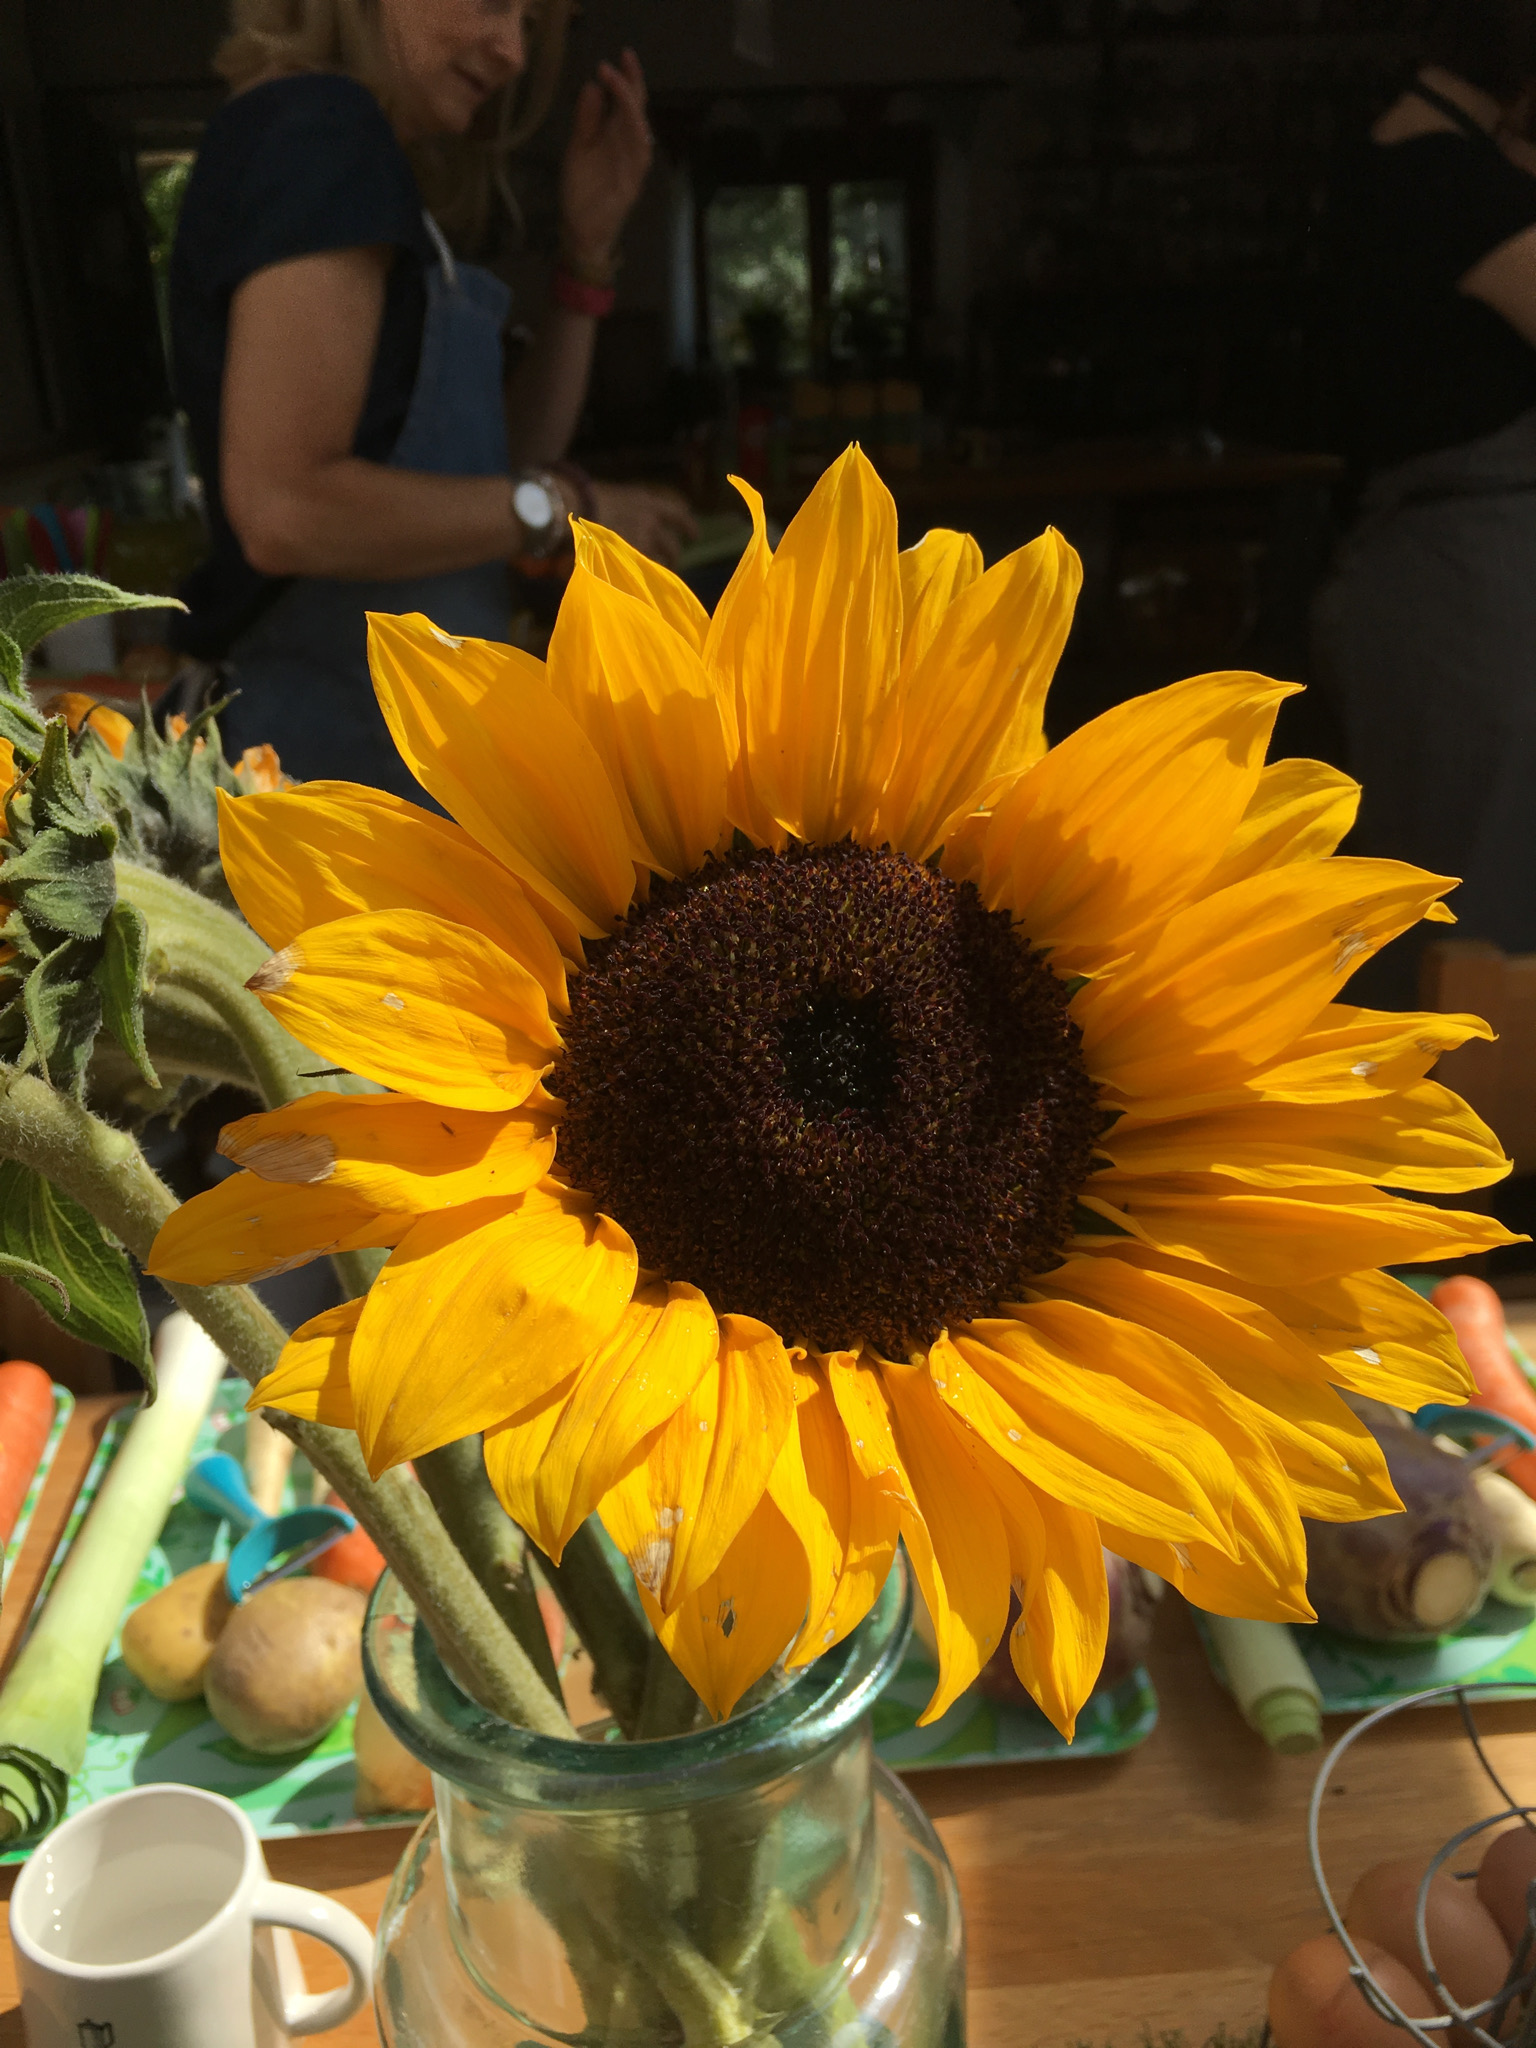
Welcome! To the glorious summer time and the reveal of our creative challenge theme for this month over at Art Elements blog. This month: Sunflowers selected and hosted by Sue Kennedy of Sue BeadsIMG_8909Helianthus. In Greek myth the sunflower used to be a nymph. She was an ocean nymph named Clytie who fell in love with Helios, Titan of the Sun. It’s a tale of abandonment, revenge, and unrequited love worthy of a modern soap opera. In the end, she became a sunflower, turning her head to follow Helios progress across the sky, yearning for him still.

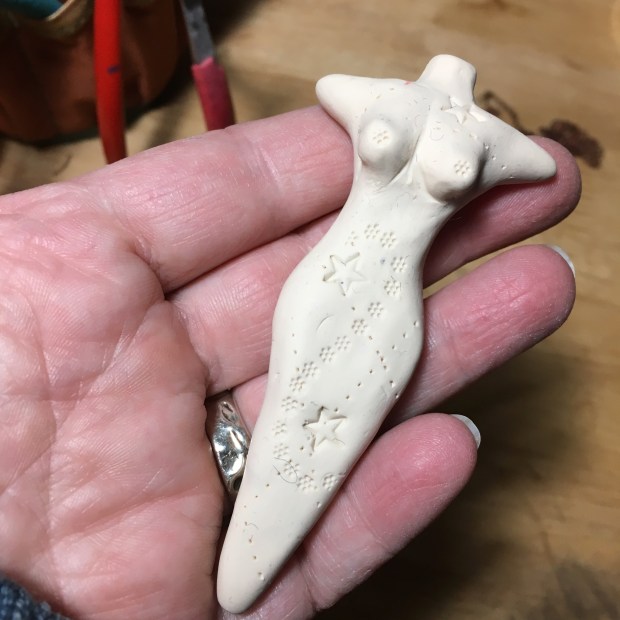
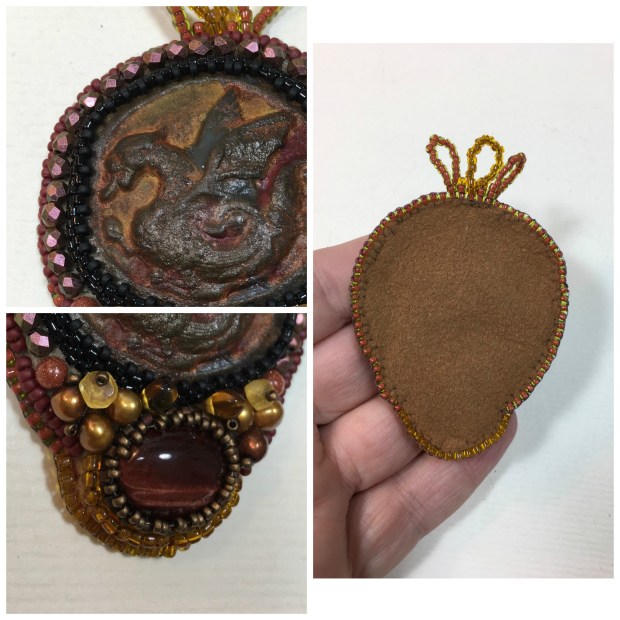
As I am inspired by myth, I started there. But the tale was too tragic; albeit a recurring motif in Greek myth. So I decided to honor a wild hare of an idea that was taping mean the shoulder for the last year: micro mosaics.

I have a few beads ( cue laughter) so I selected a sunflower palette. For the center  of the flowers I am using an antique faceted jet button. For the “grout” and substrate I am using Apoxie sculpt. So – snap the gloves on and mix it up…

IMG_8879

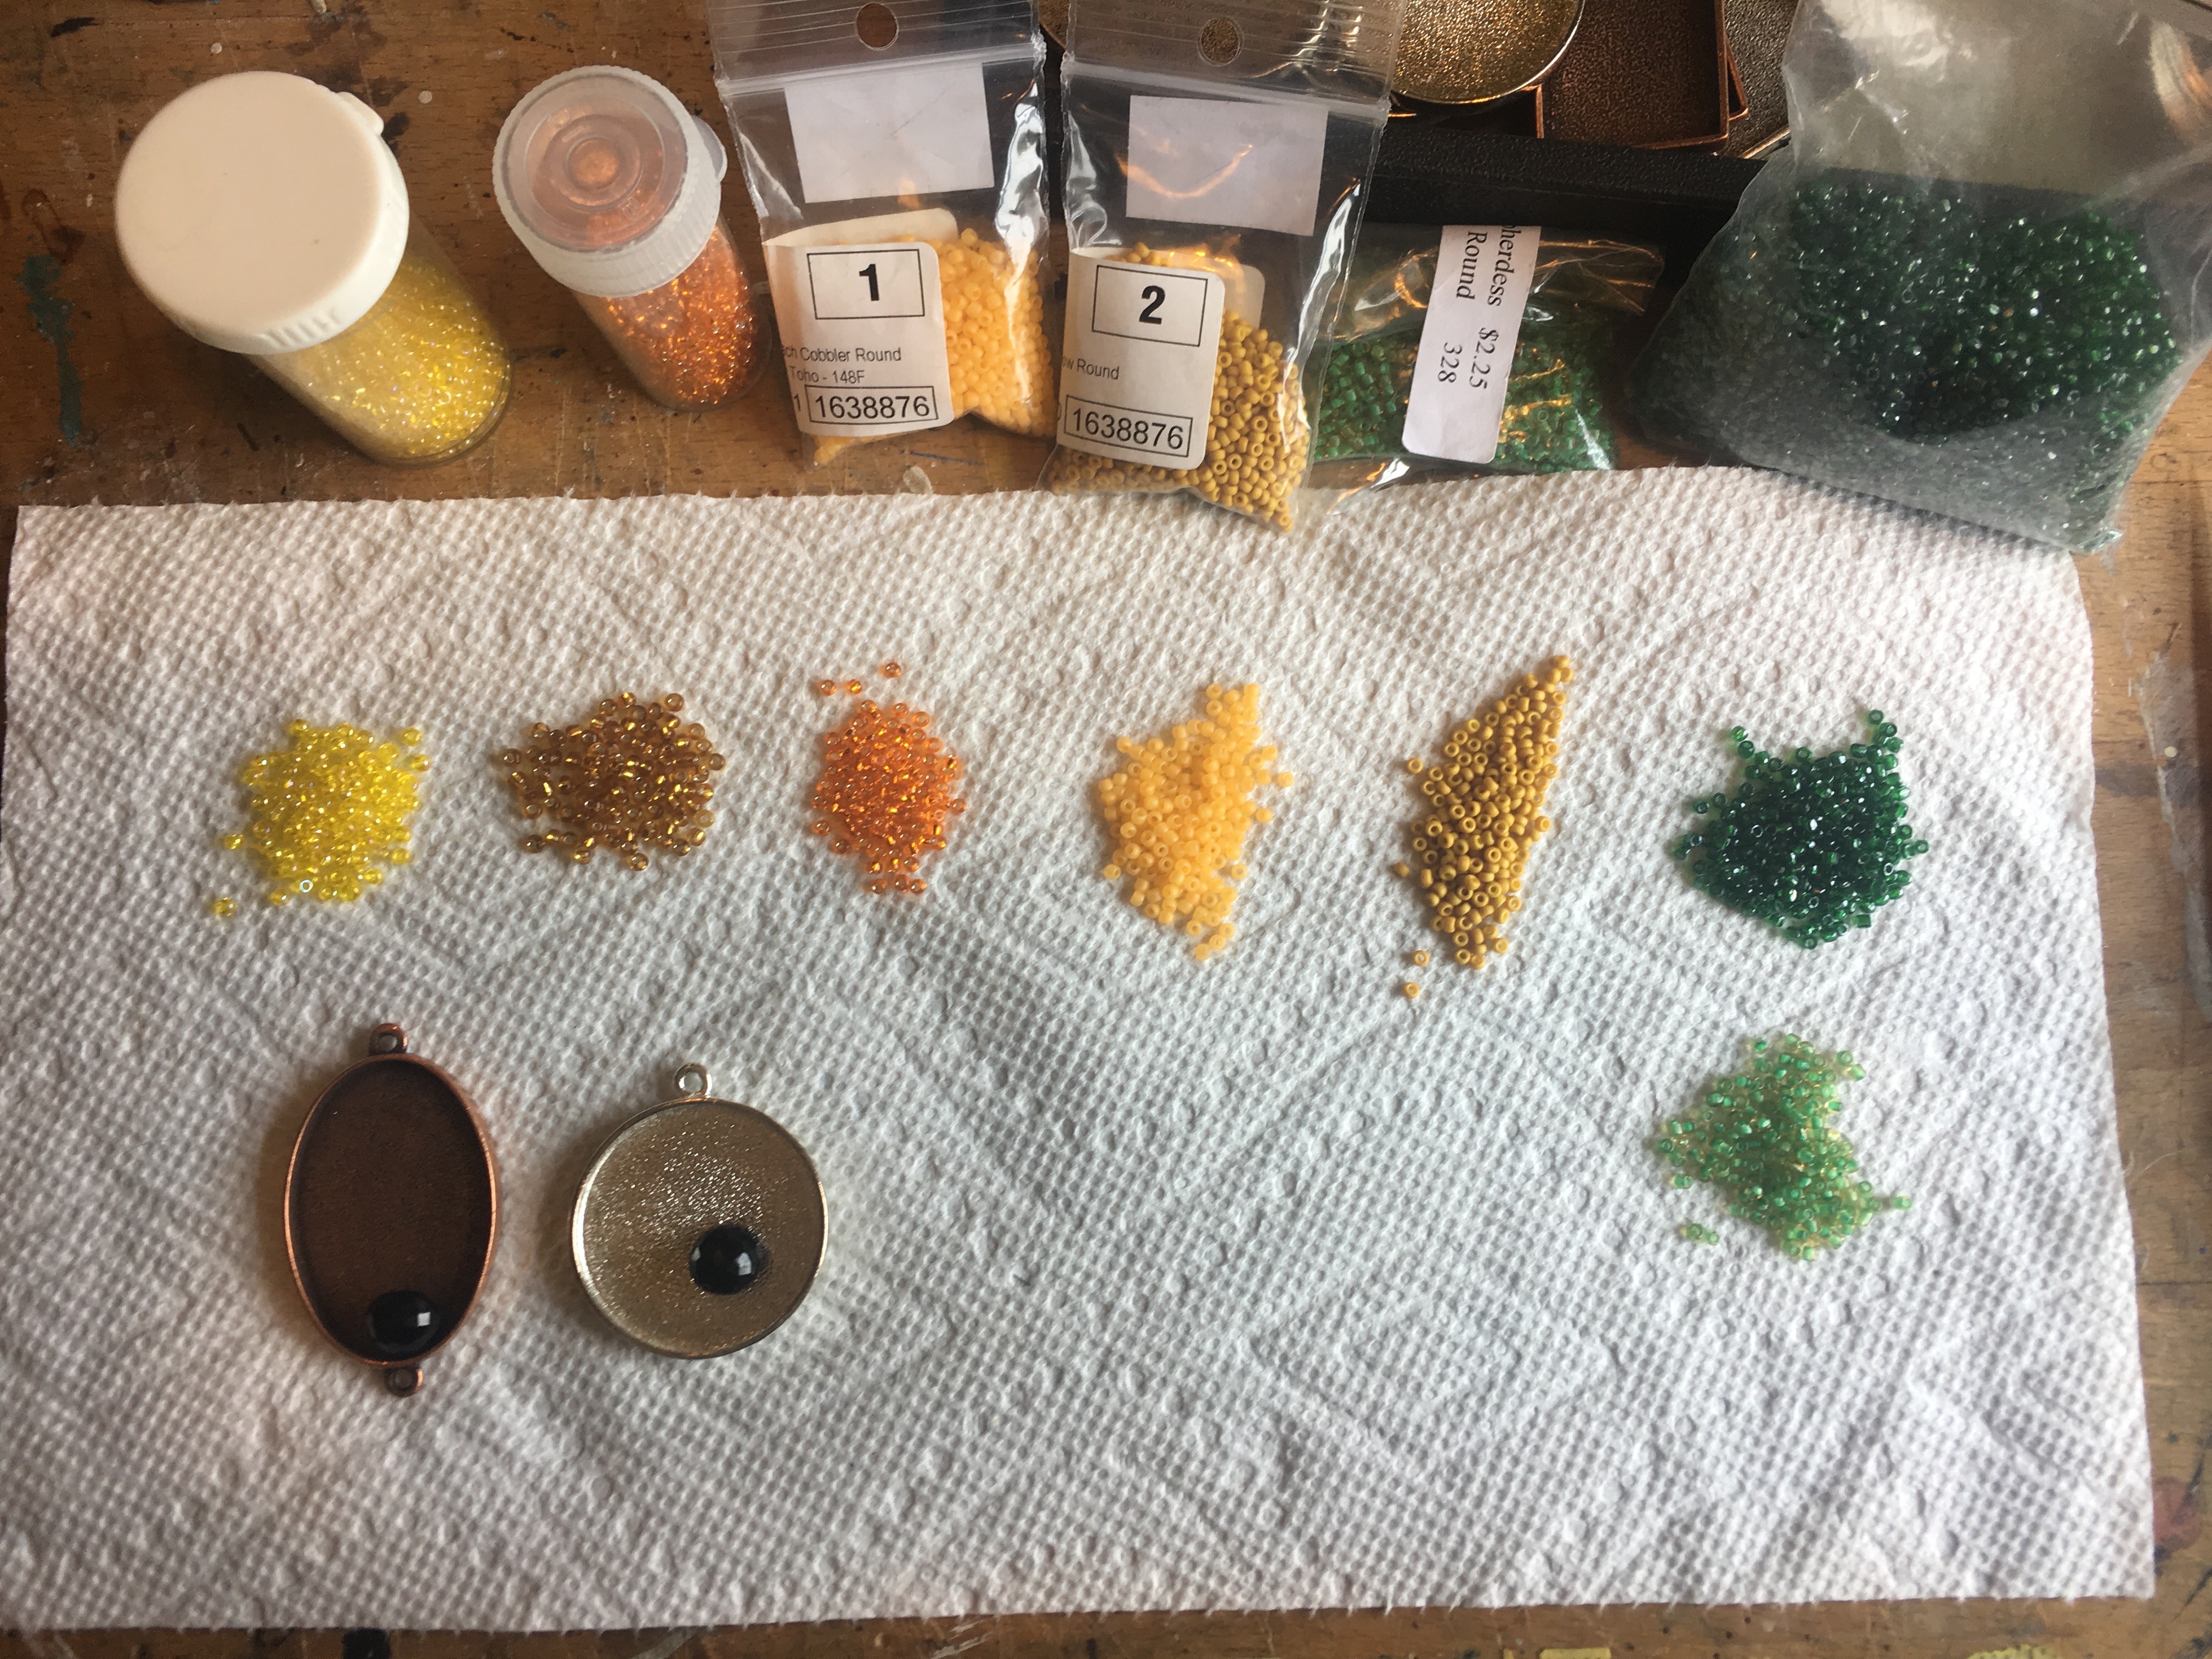
Bezels and palette – ready to dive in.

I sketched the petals into the apoxie and started… to be met with immediate frustration. I wanted the beads to sit up – so holes were hidden. Tried tweezers, which worked – but just too tedious. I started stringing beads for each line on 28 gauge brass wire – essentially making elements to inlay as opposed to individual 11* seed beads! Much better!

sunf bead mosaic

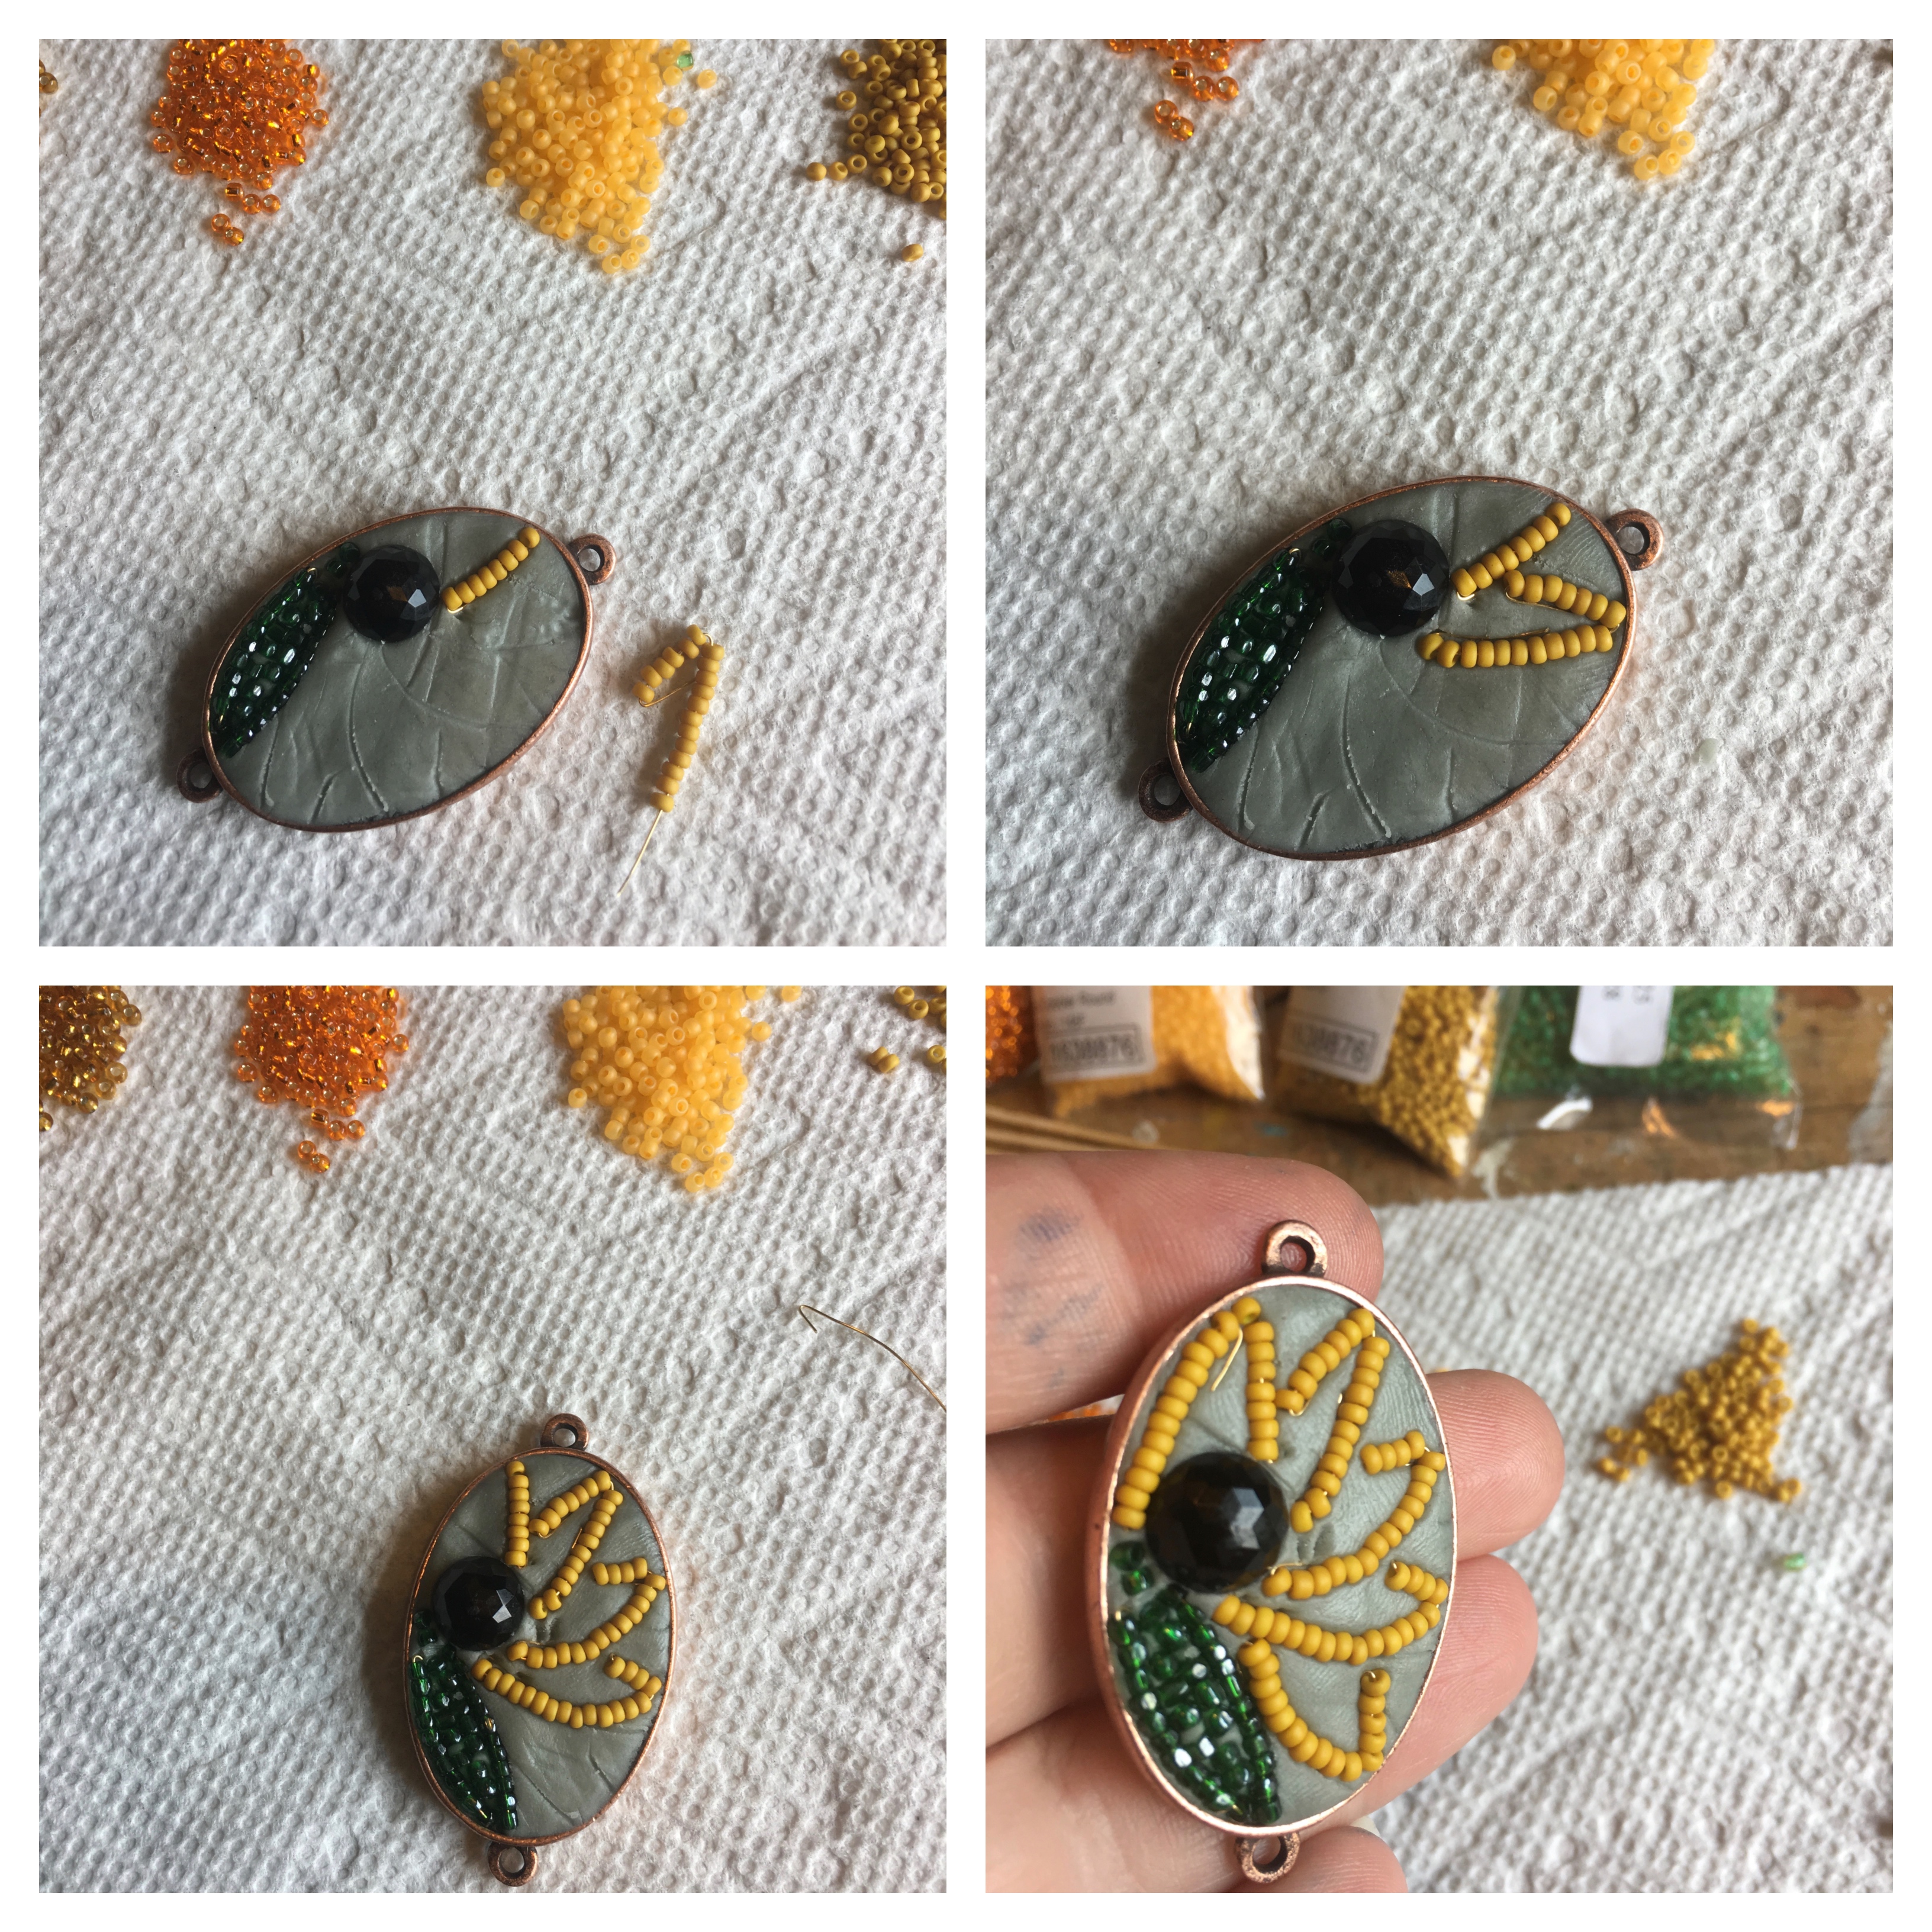
Tedious! Making modifications on the fly.

IMG_8887

This is basically what I imagined.

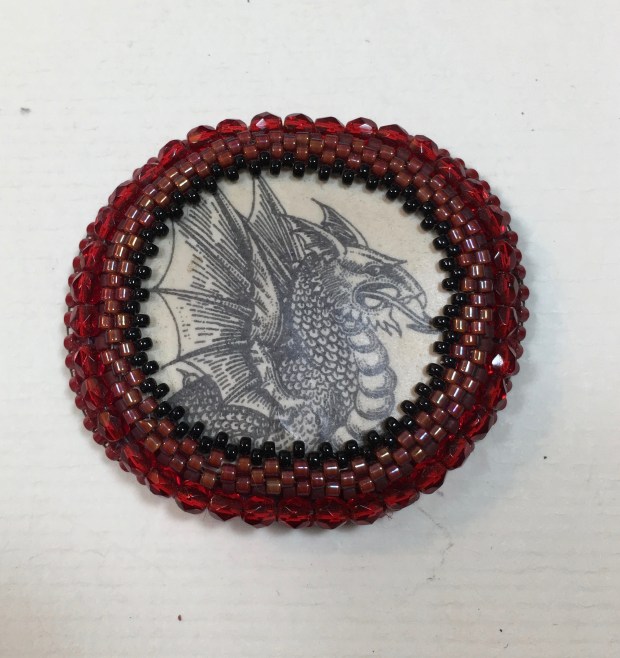
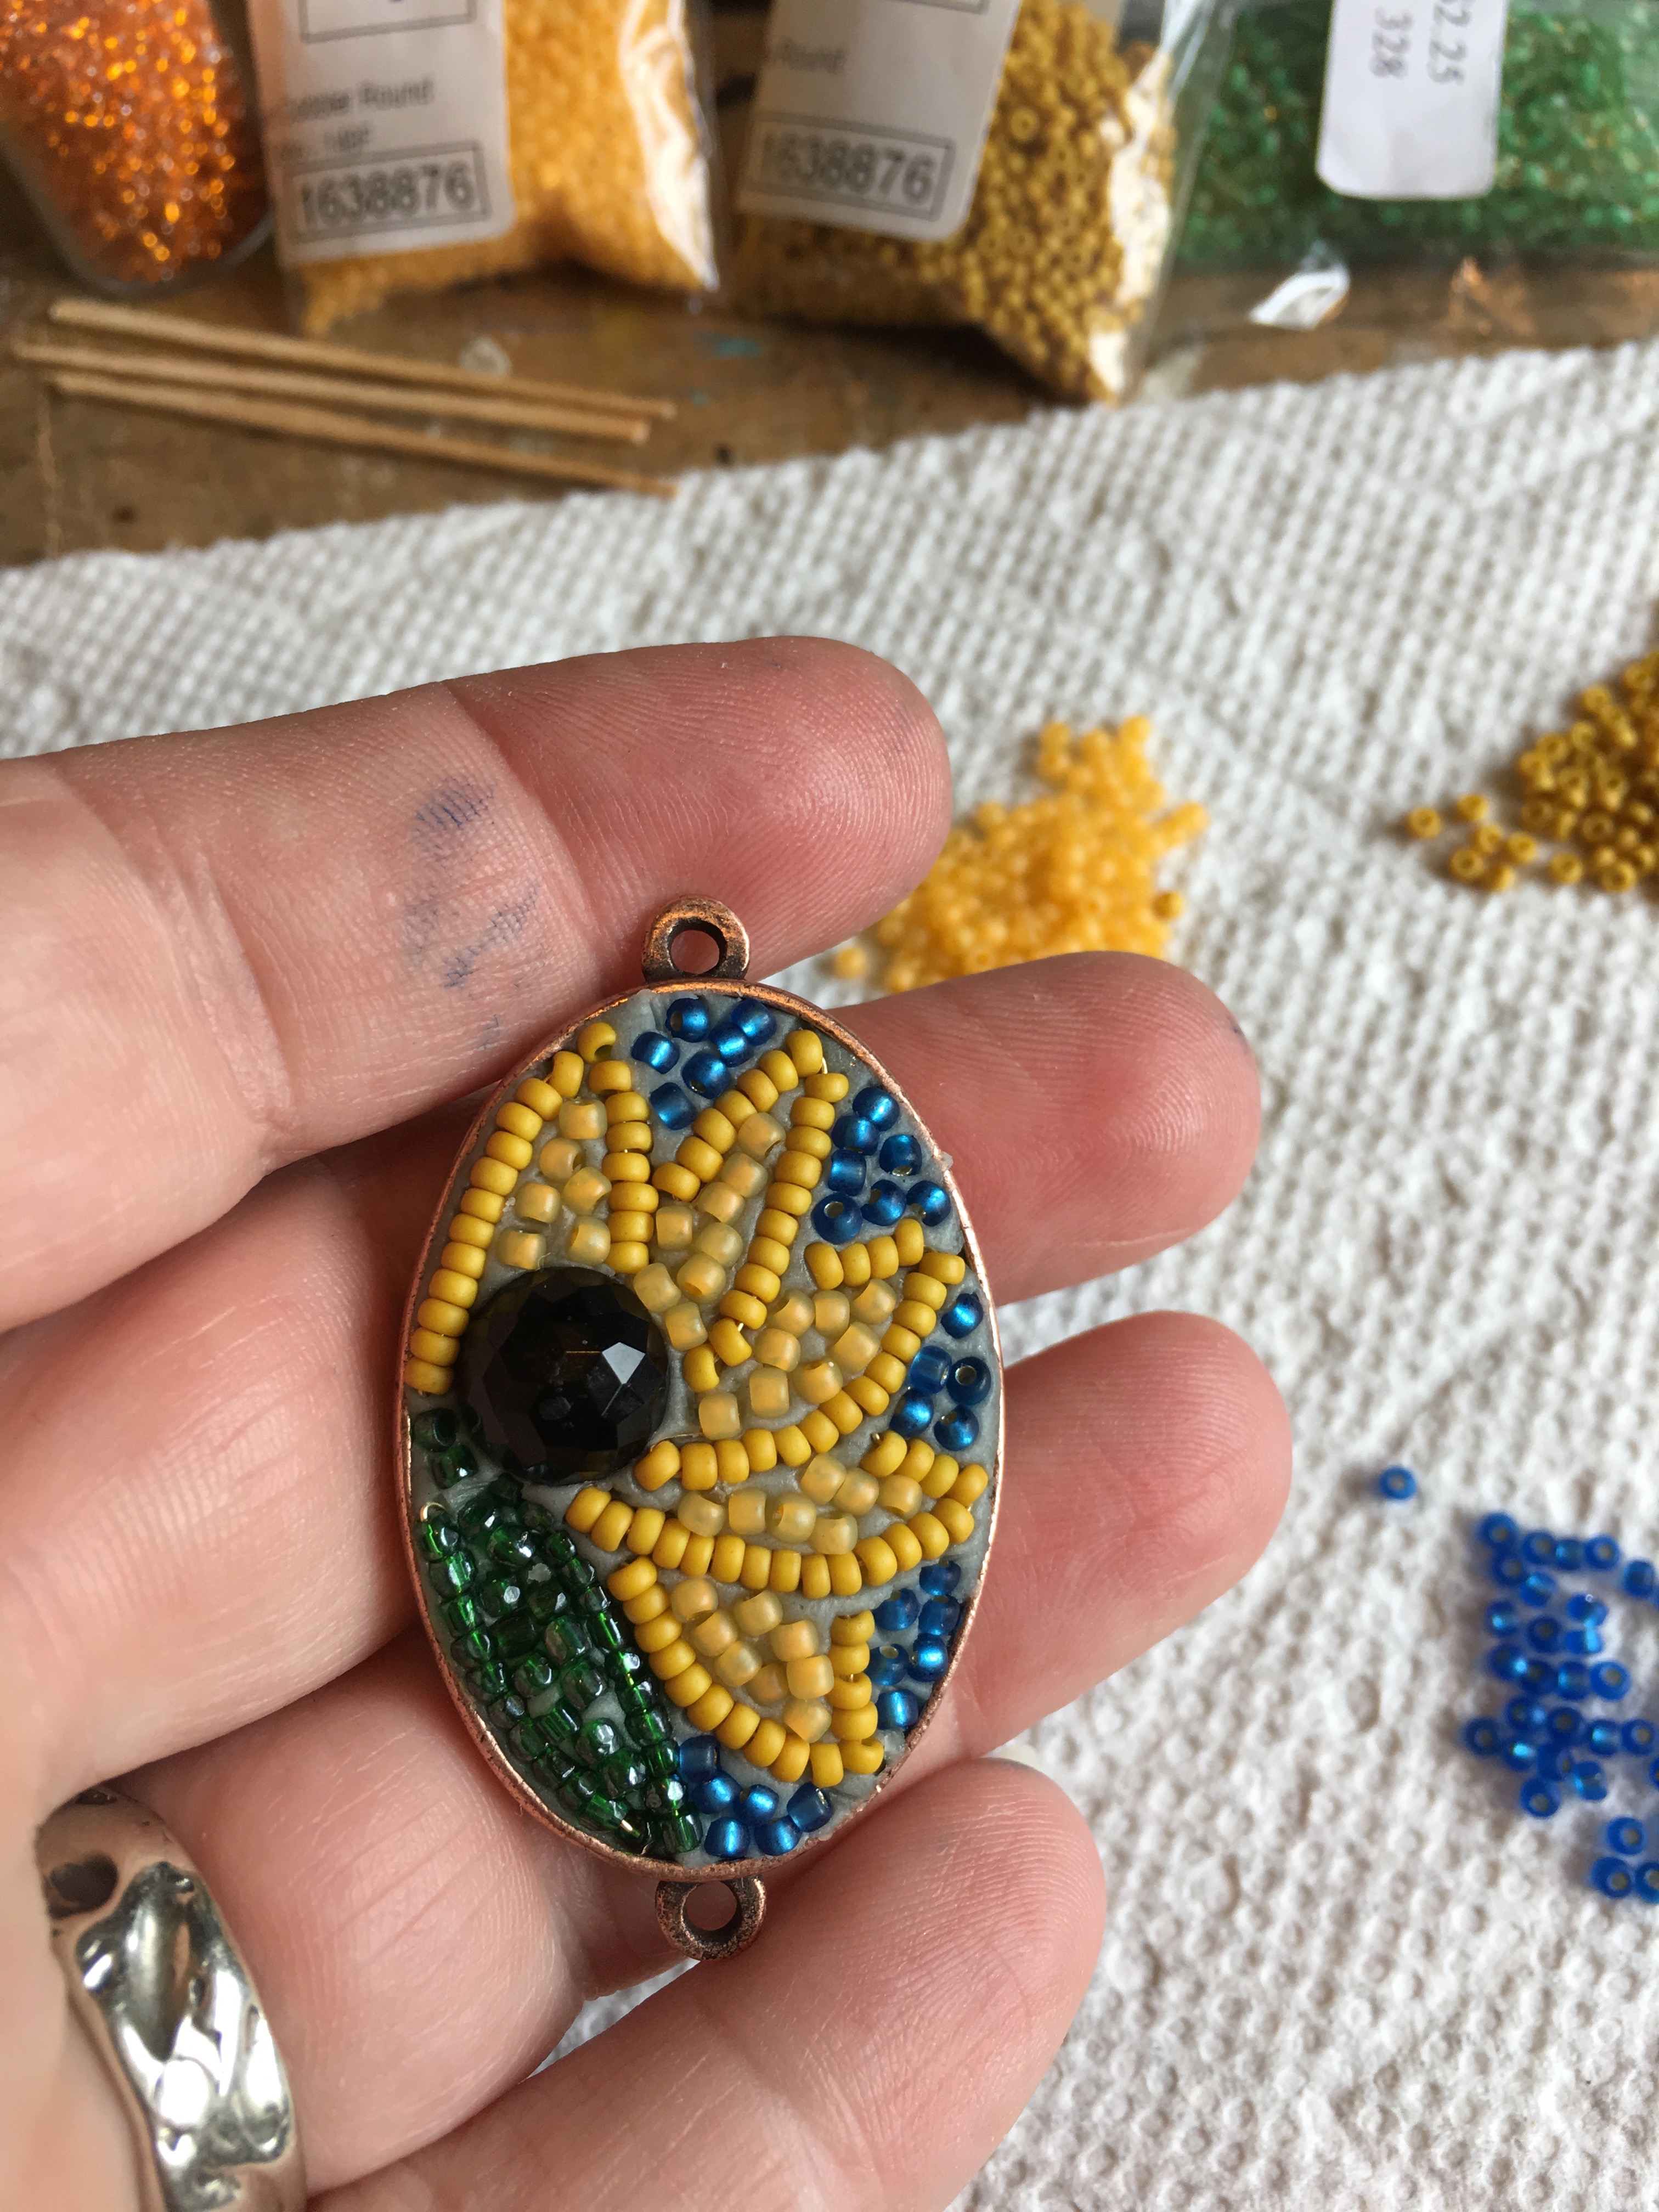
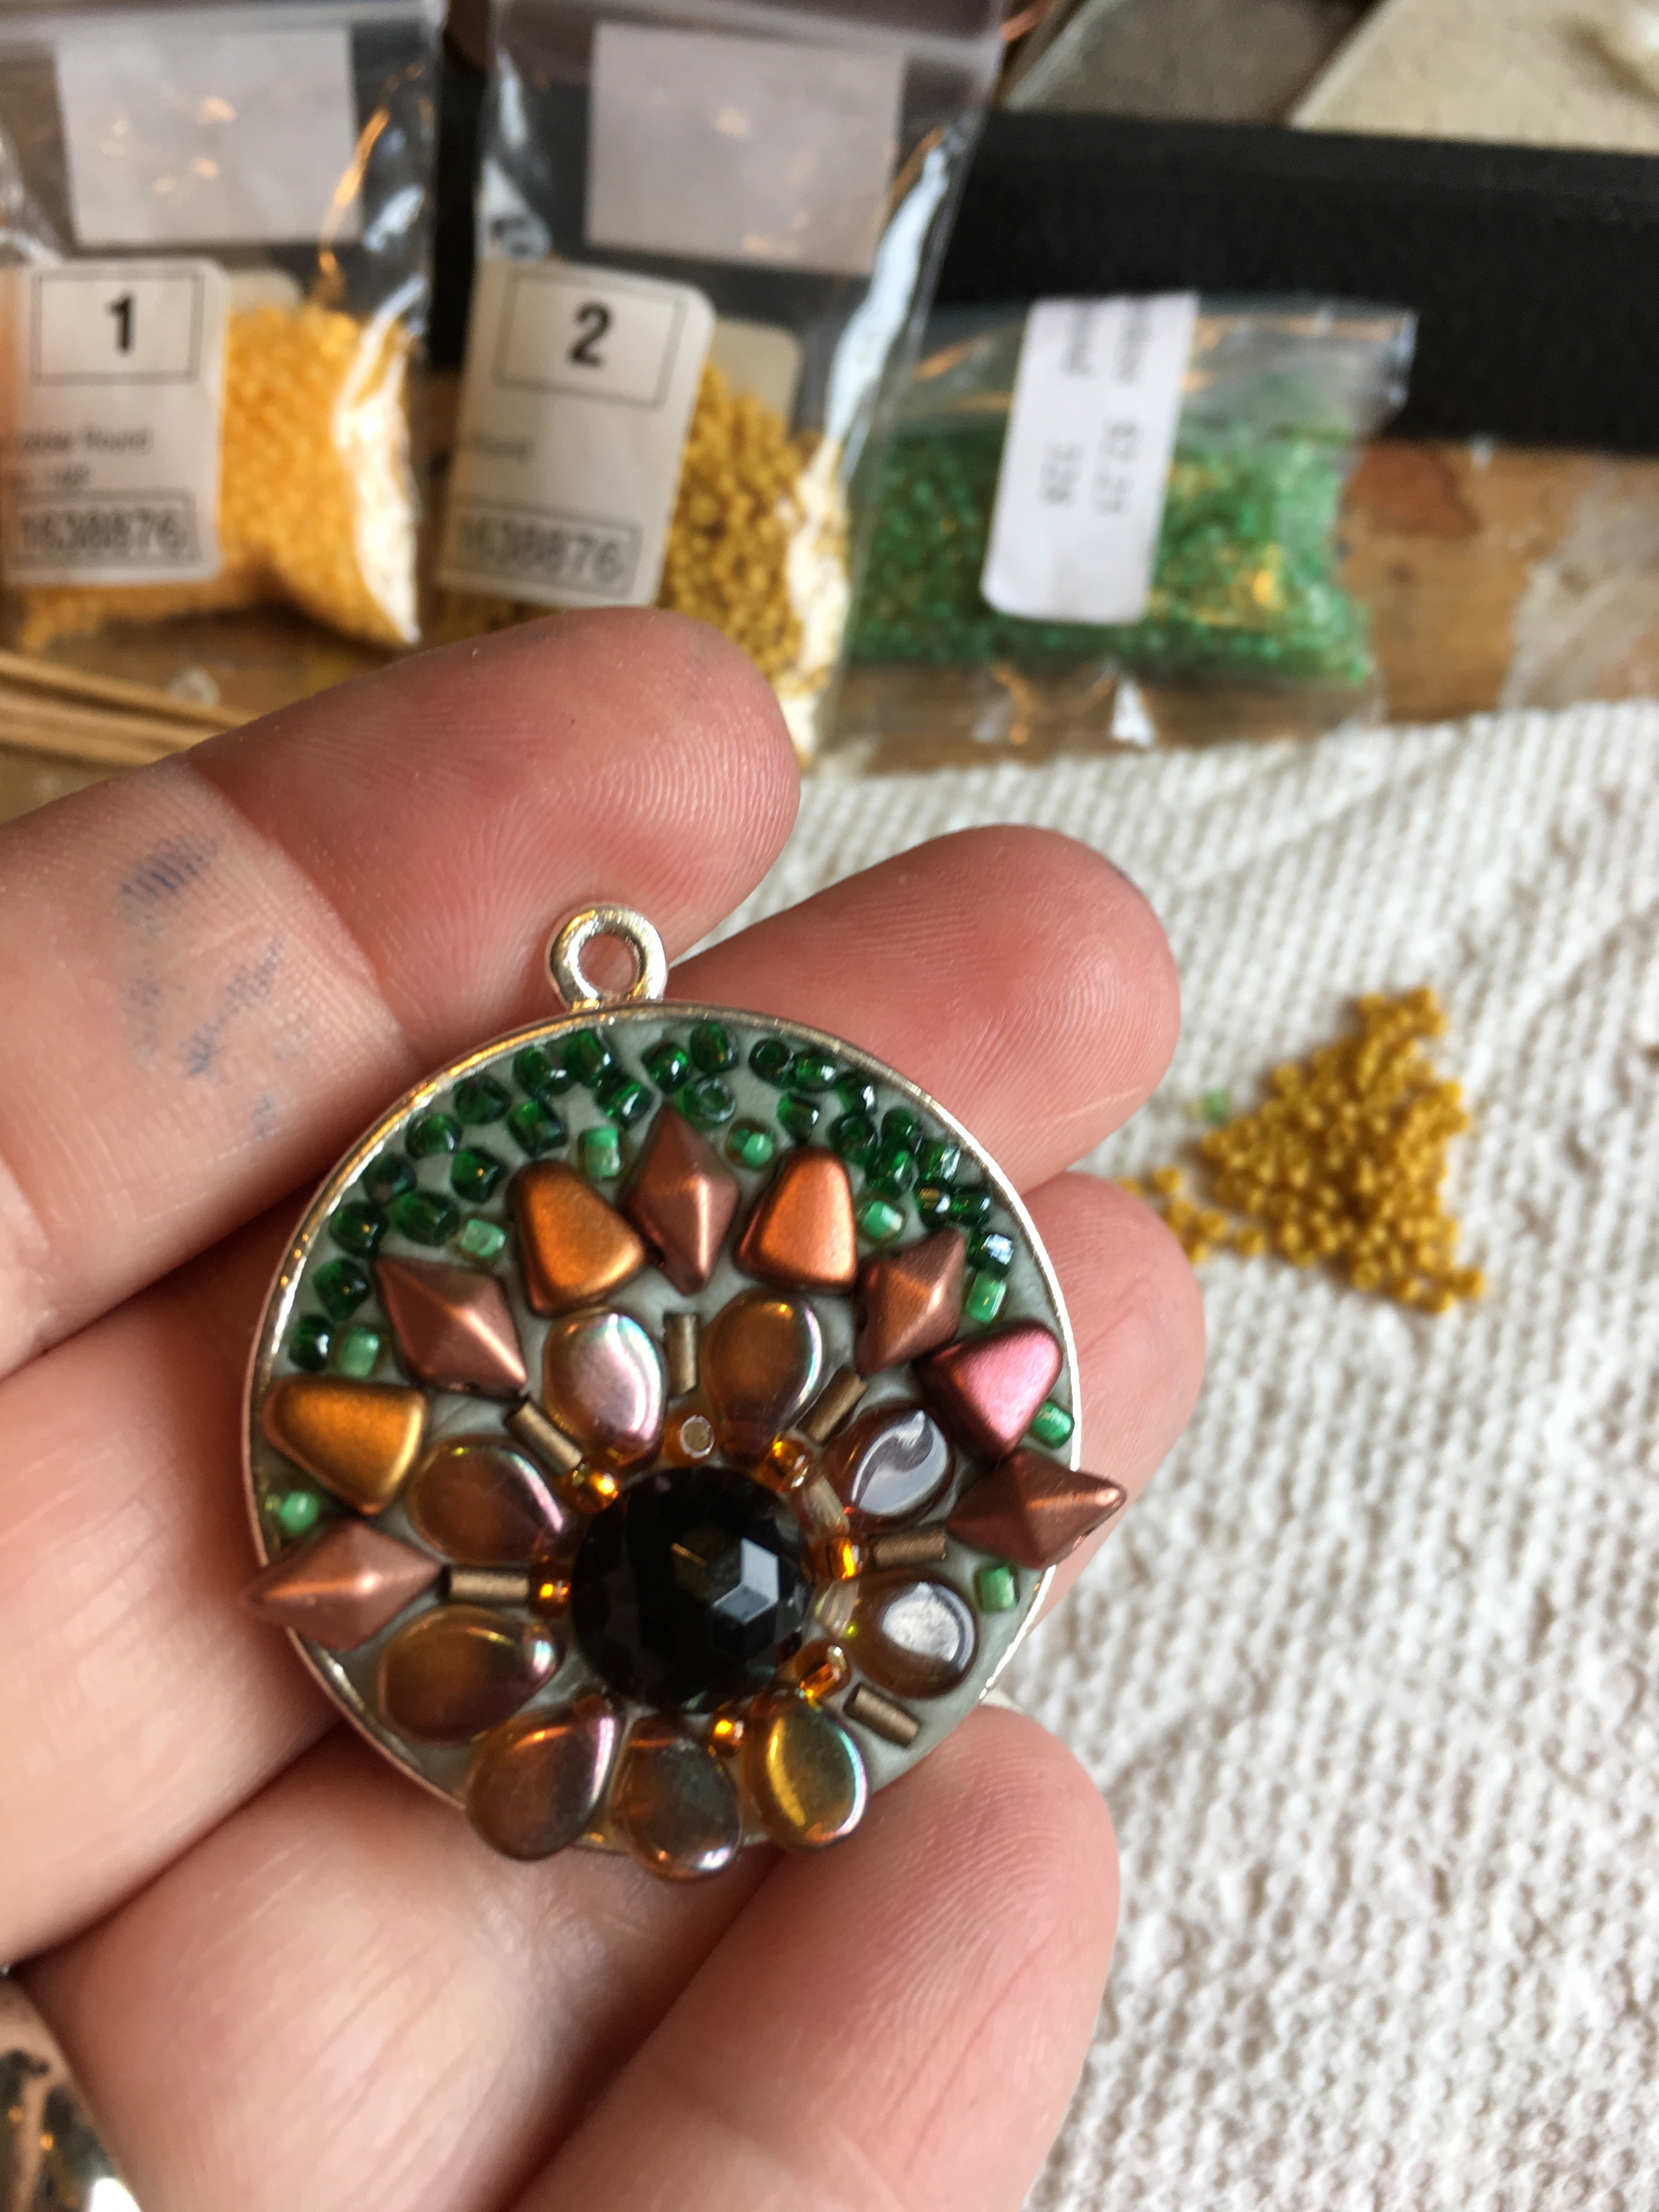
The second bezel? Lets use larger beads! Lets use shaped beads… The palette had to change based on what I had on hand. The working time for Apoxie sculpt is 1-3 hours. For this process – earlier, softer consistency was preferred.

IMG_8889

Looser in inspiration, larger beads!

So if the seed beads are smaller than I wanted to work with – lets make larger mosaic tiles. Christi Friesen has been doing some crazy cool polymer mosaics lately – and those ideas were percolating in my mind.

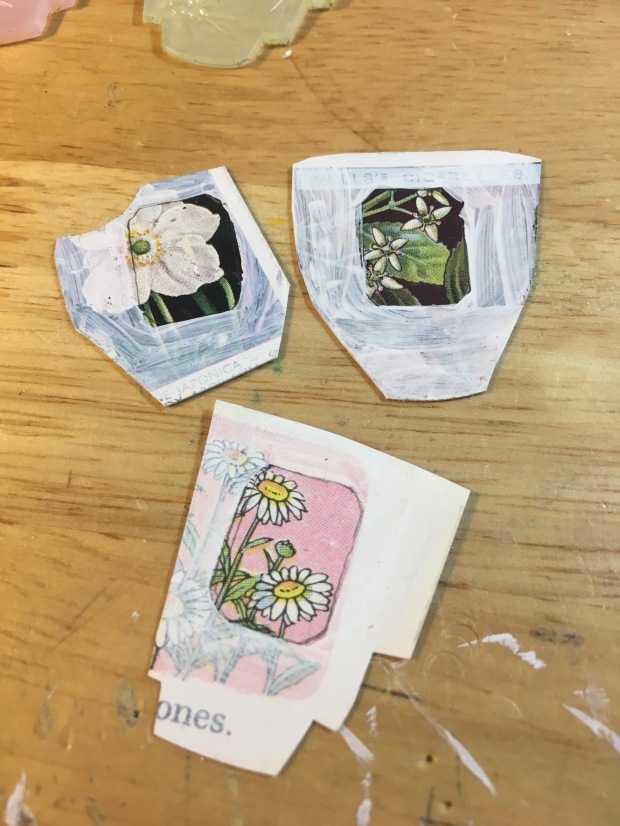
First I created and cured my printed polymer veneers. This was the palette for my next mosaic.

sunf veneer

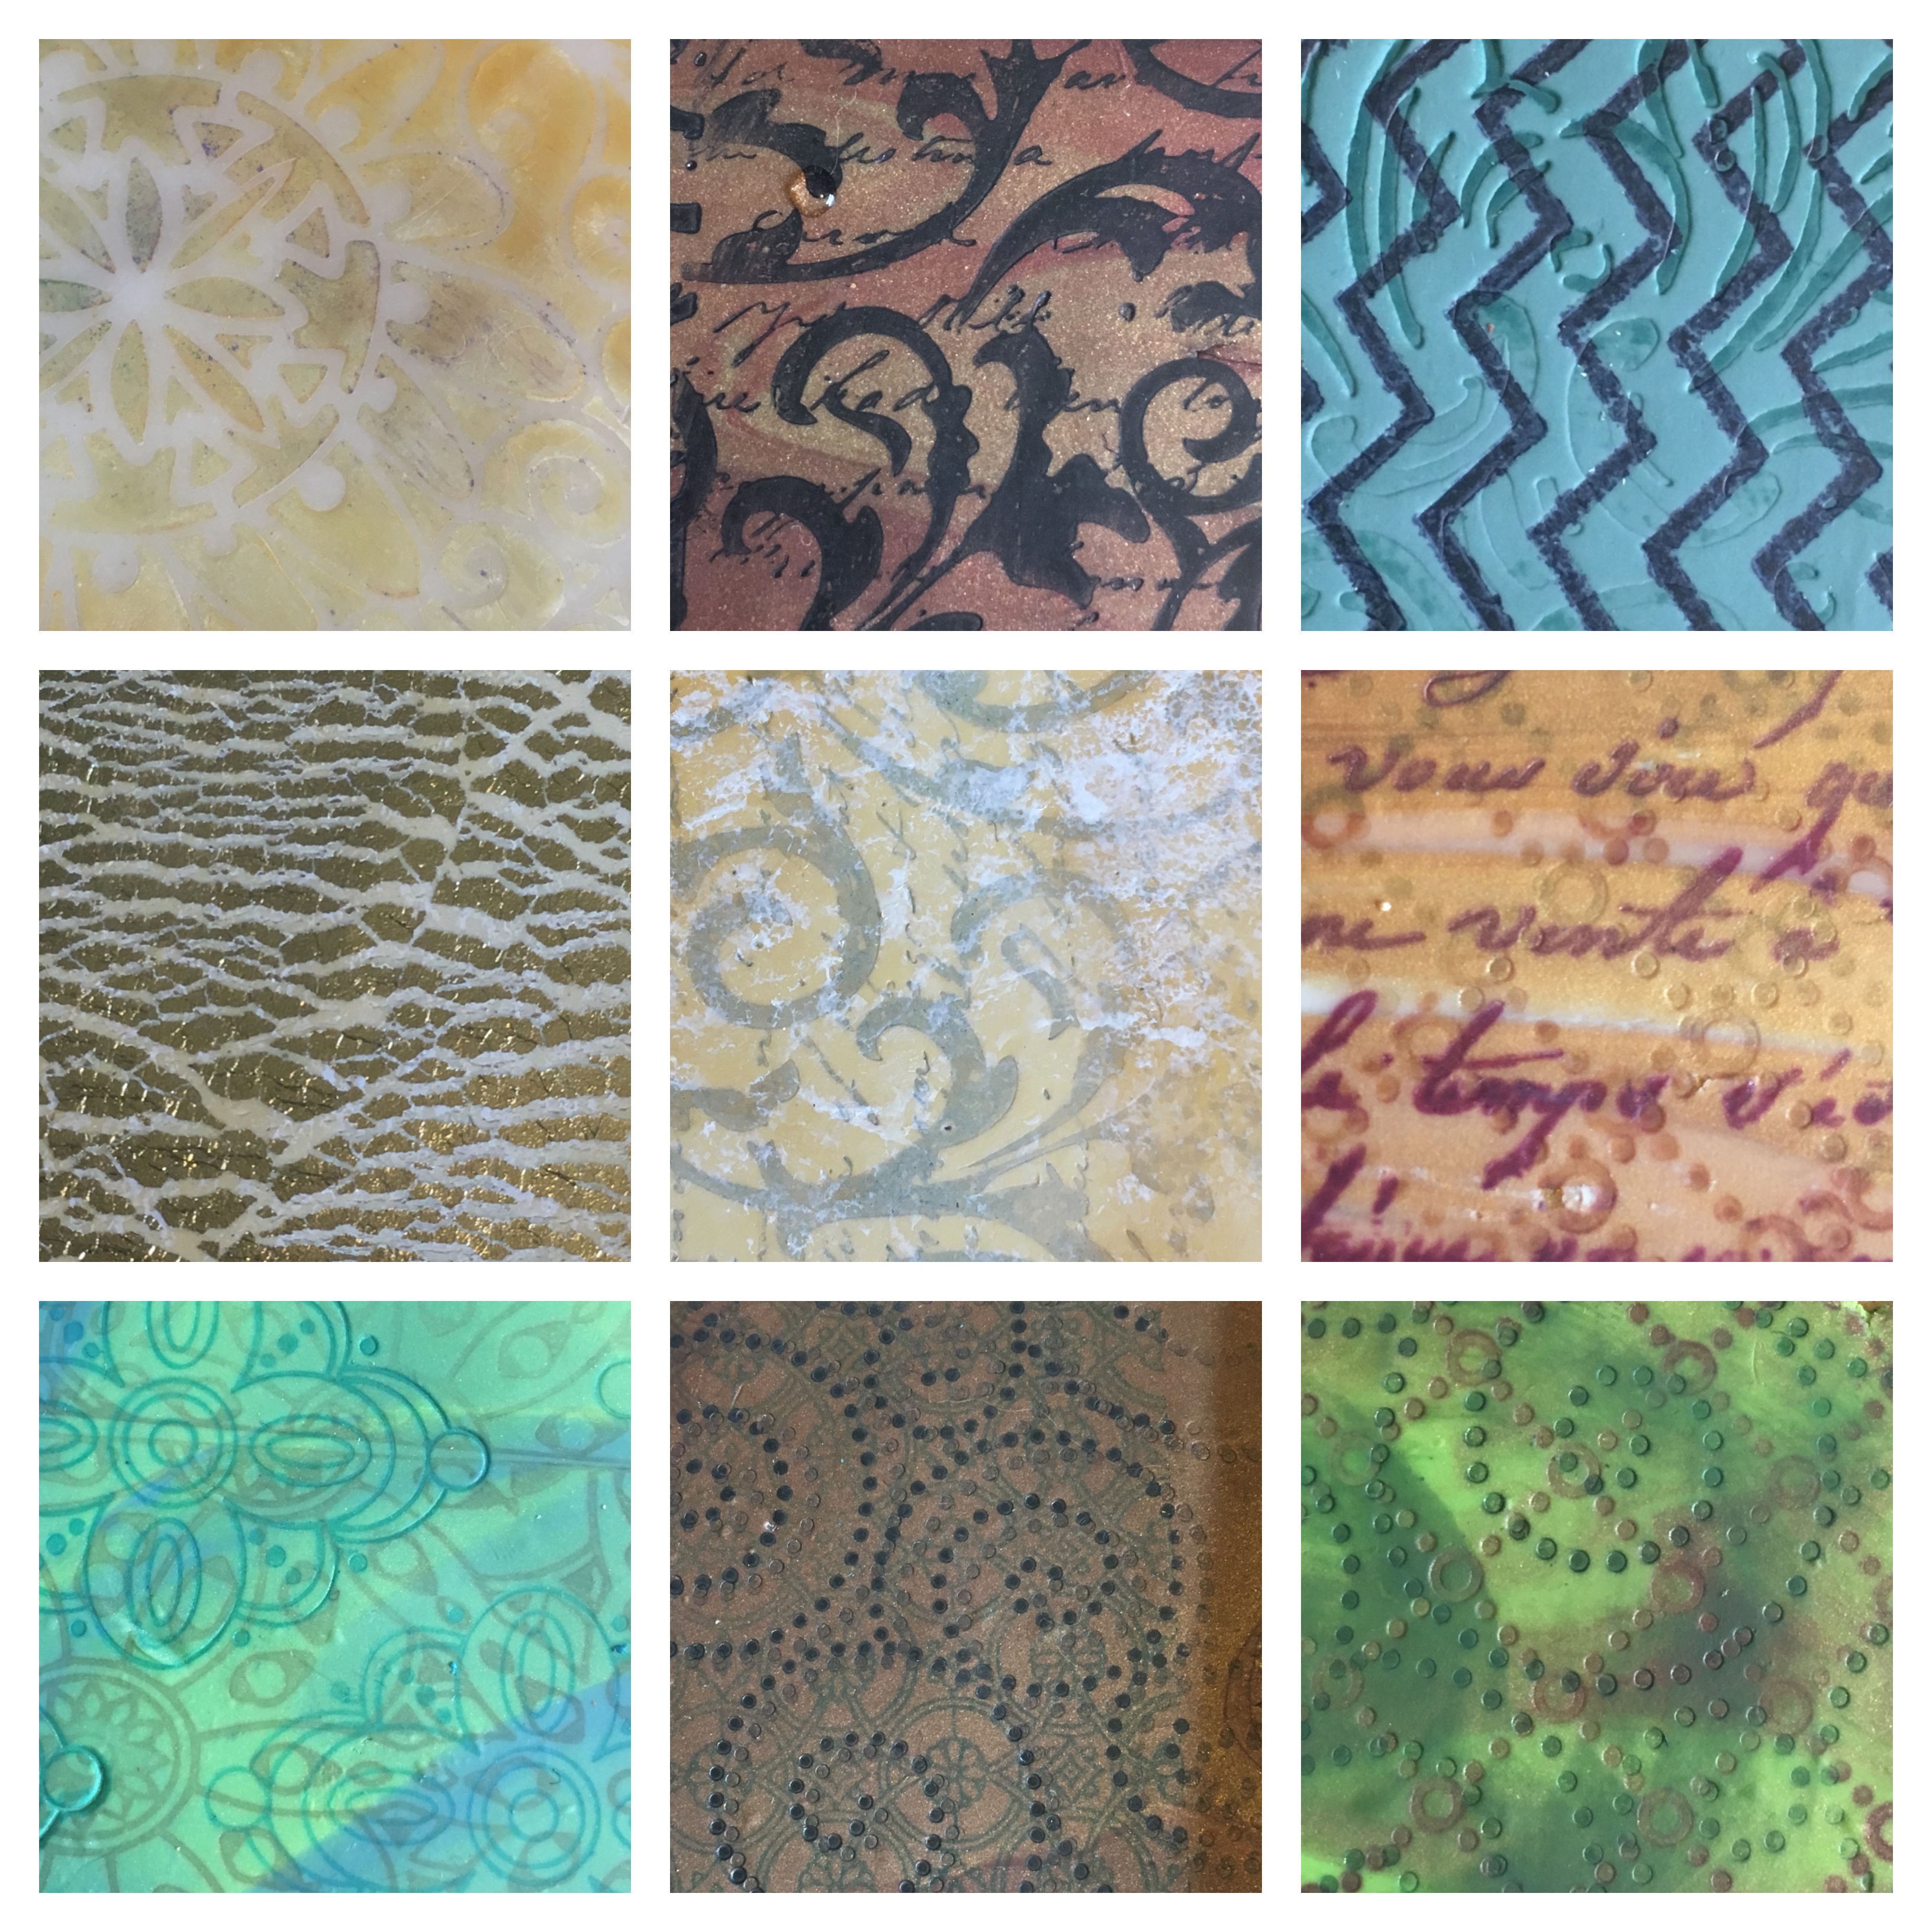
Polymer printed veneers – my mosaic palette.

I was working in a pine tray/frame. Painted and sealed first ( acrylic paint and gloss gel medium) I decided on the zoomed in image you saw at the start of my post. The cured veneers cut easily with Xacto knife, or even scissors. My Apoxie is grey – so rather grout like. ( Manufacturer says it can be painted after curing. I chose not to try that in this application.)

sunf WIP

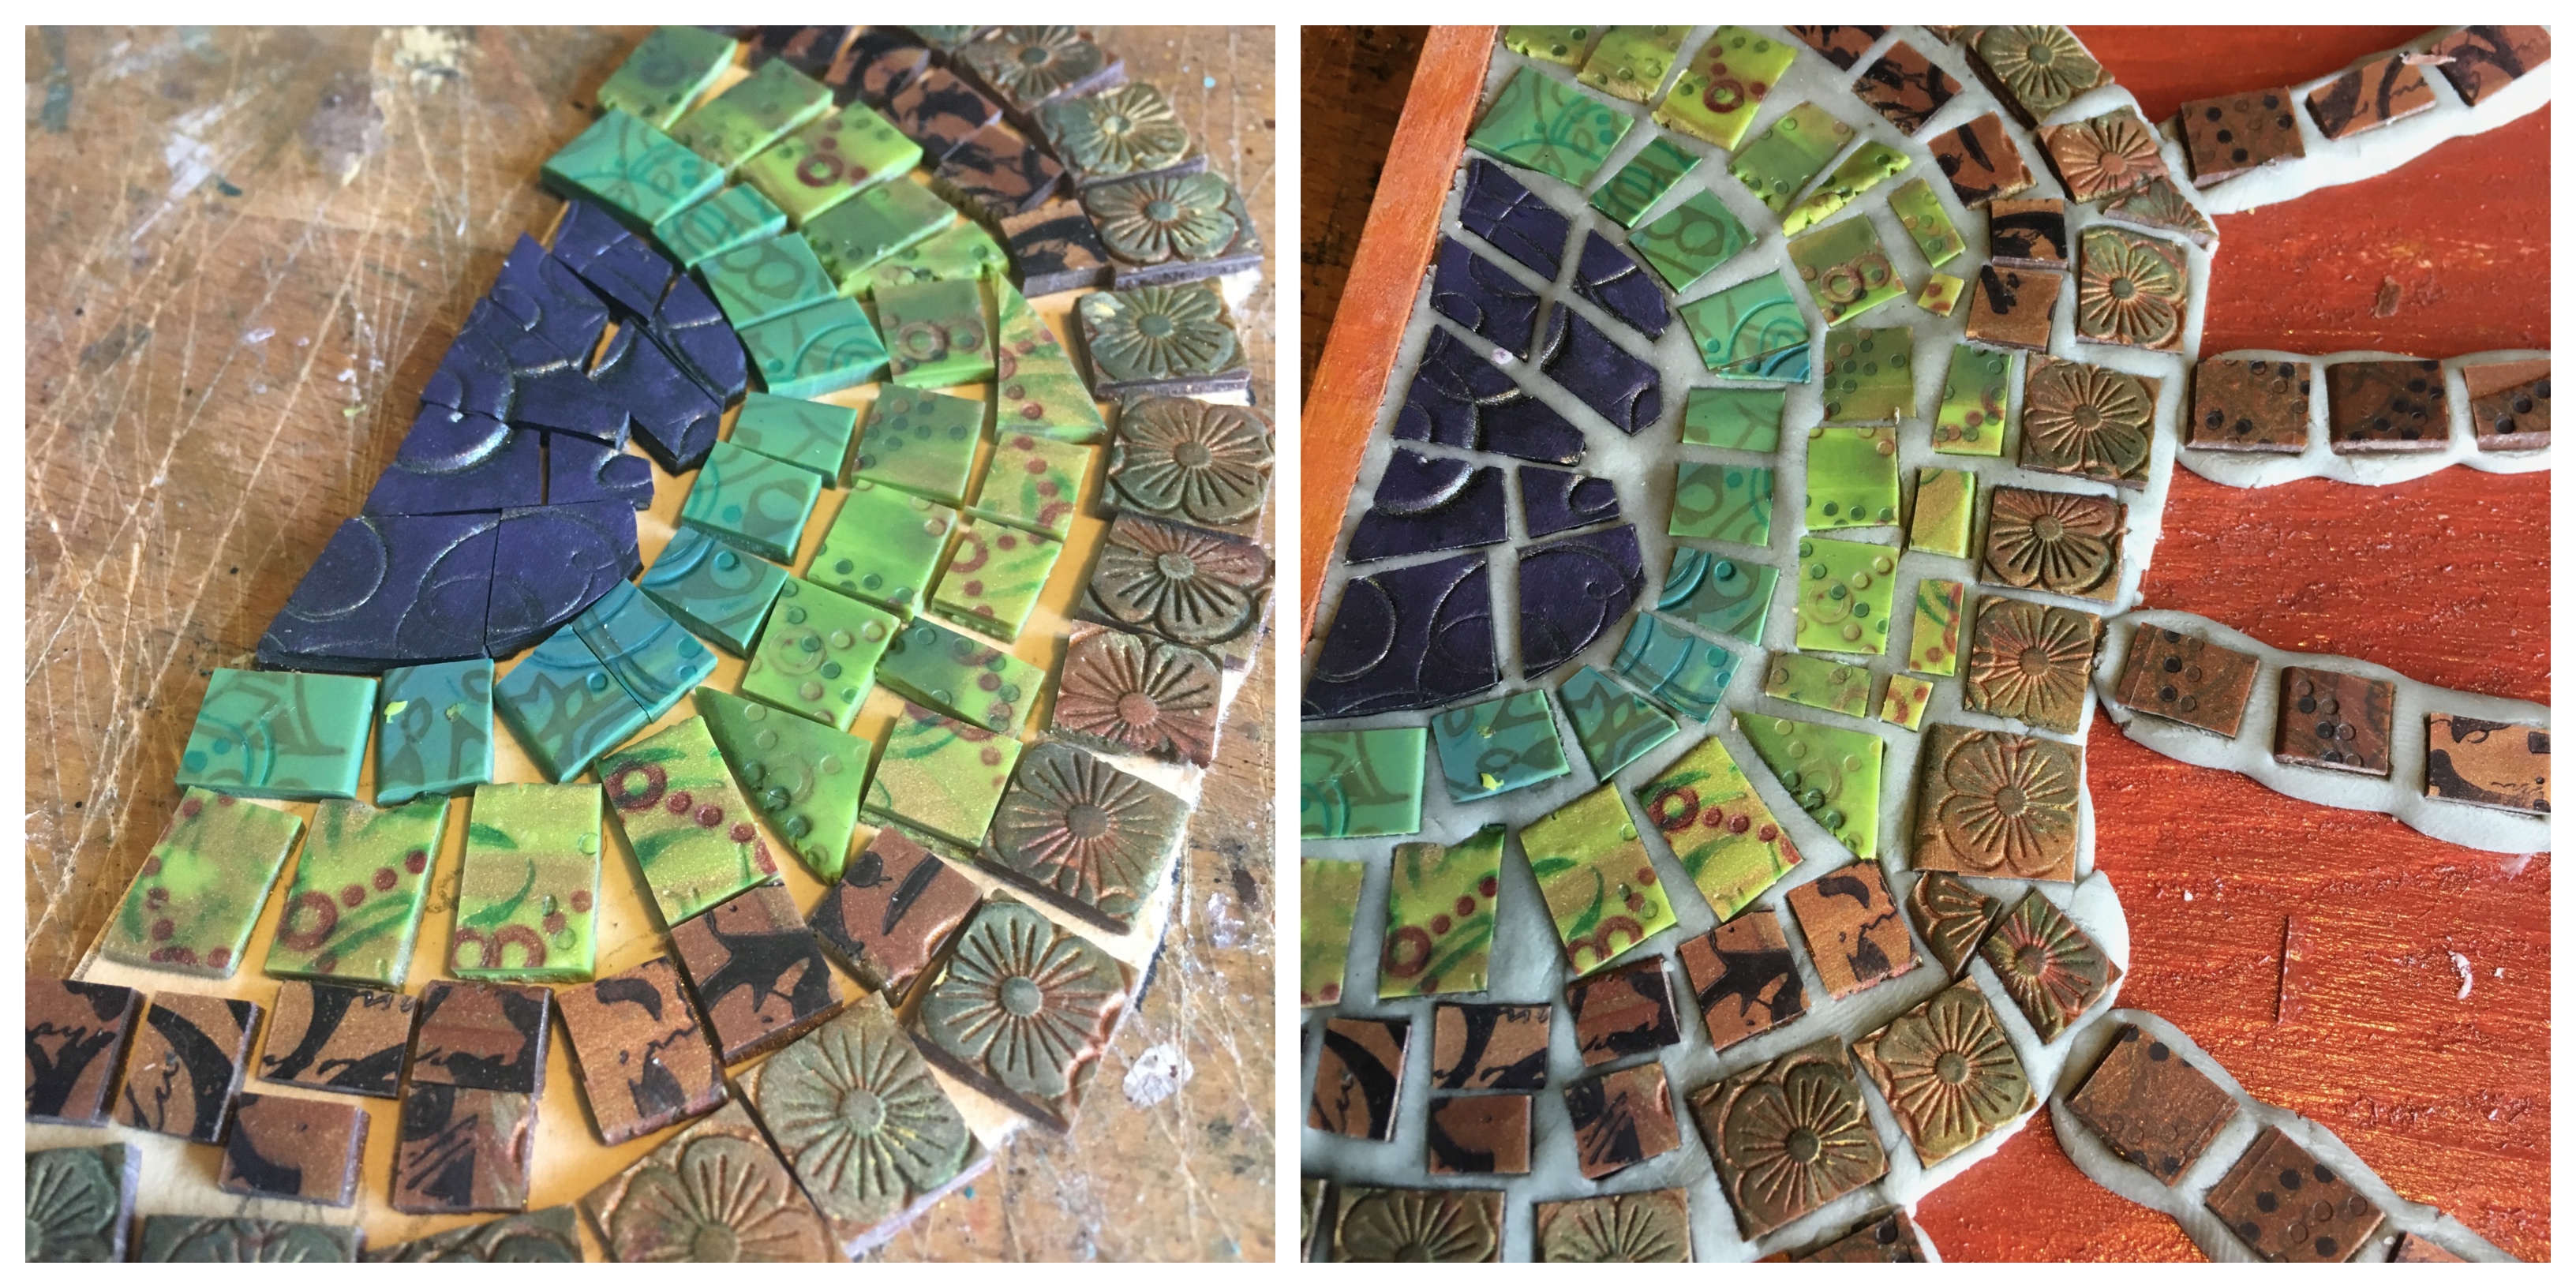
Layout, and progress.

For my first try – I am basically pleased with that. I love the gold leaf shimmer from that one veneer. If I were doing this again – I think i would do more layout and pre-planning. Have more carefully fitted and cut tiles. While the spontaneity of this was fun, and rather freeing for me – I can see so much room to experiment with this process.

IMG_8934

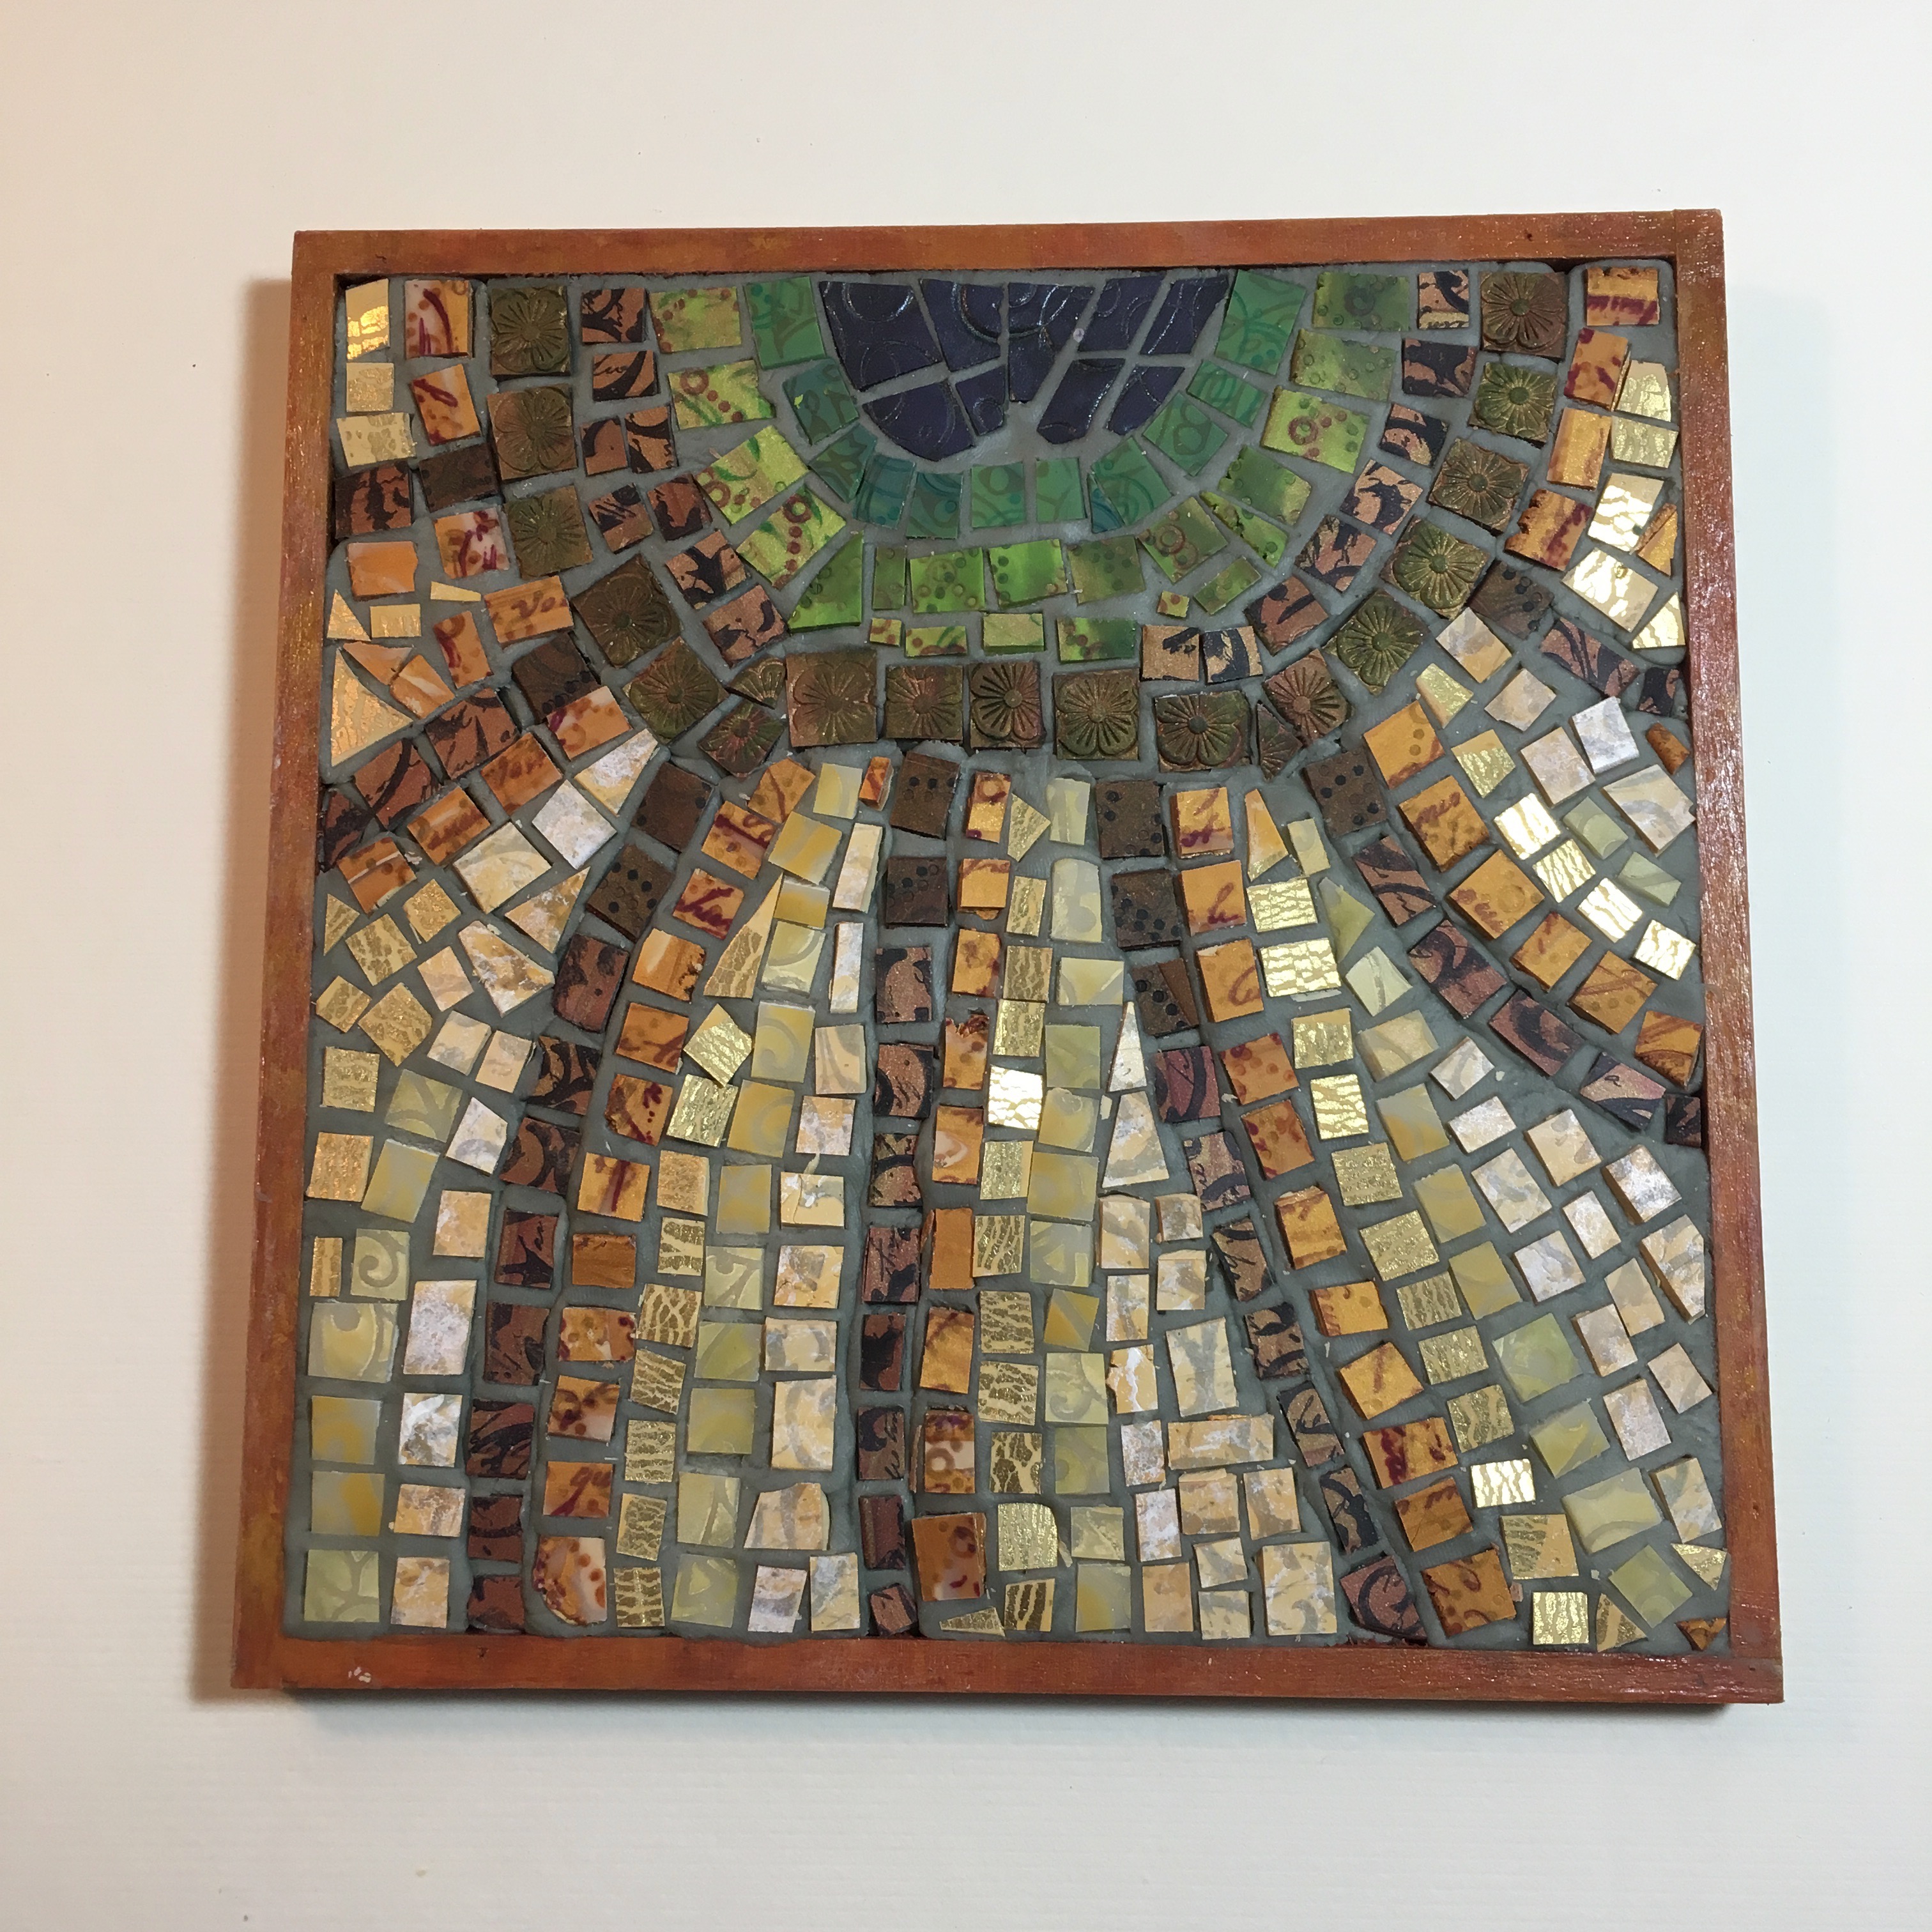
The finished polymer mosaic.

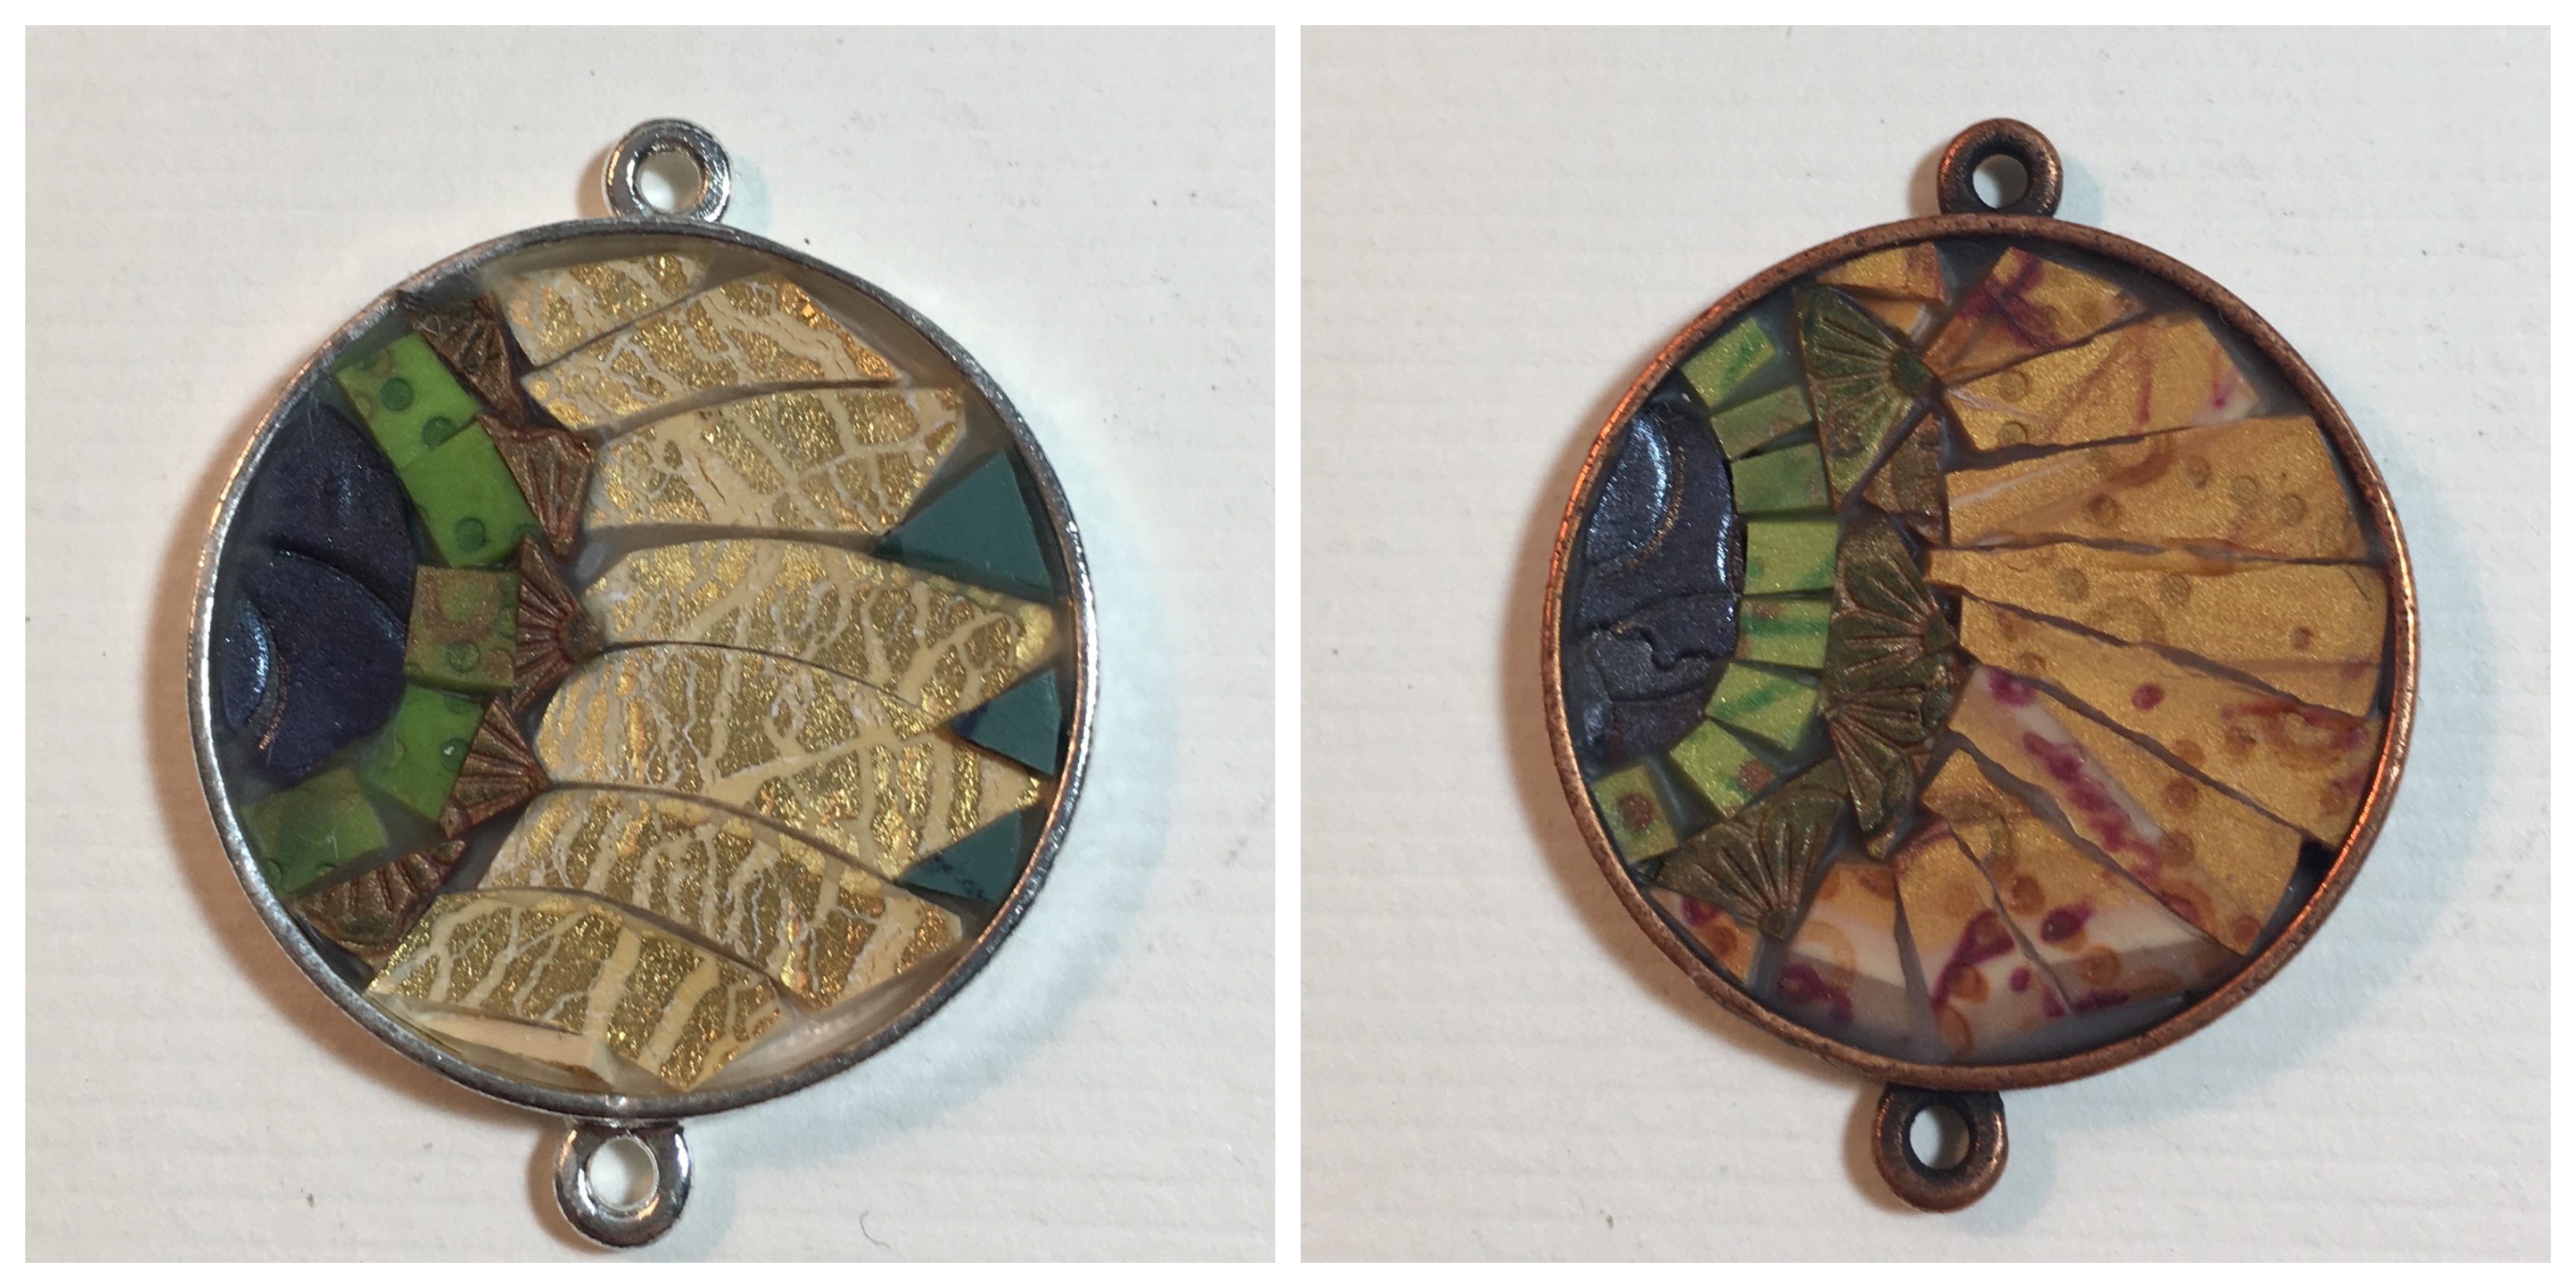
Lastly – micro mosaics! I had all the polymer scraps… I had to try! These mosaics are “grouted” with TLS ( liquid sculpey) and cured to regular time/temperature. I liked these the best. I am still pondering why… was it that I didn’t love the Apoxie? That I had no time pressure here? That they were smaller/faster/less tedious? Whatever the reason – I may have to try these again. What are your thoughts?

sunf micro

Listed below is a complete list of this month’s participants – both team members and guests.  Take a look at their creations! Enjoy!

And see you next month!

Guests

AE Team

Nests: the Art Elements themed challenge reveal

Happy Spring!

Welcome to the first in our monthly themed challenges! (We have had these seasonally occurring in the past, but have recently switched to all themes, every month. ) Cathy stars us off with the theme: Nests. Her original post was filled with inspiration for jewelry, fibers, all sorts of mediums.

I knew exactly what I wanted to do… ever since this tutorial was released at Sarafina Fiber Arts, I have been thinking of nests. The timing was perfect for Spring and this challenge – and I do so love the colors and textures of the curly dyed sheep’s locks! ( Not to mention I work there part time, and find all the products, colors, textures very inspiring!

IMG_7902

The first one – a little wild and unruly. 

IMG_7904

Natural colors, mostly… and a scrap of suede.

Sara of Sarafina Fiber Arts shares her tutorials on You tube – you can find the nest tutorial here. When I first saw the nest samples I wanted to fill them with earthy polymer goddesses. So I did:

IMG_7906

This is what I originally imagined. 

IMG_7908

Under the sea

My stash of curly locks *may* lean heavily to greens, teals, and earthy forest colors – but that works well for an underwater themed nest too.

IMG_7911

The river rock balances out the coral as it was a bit heavy. 

And any color works – I made a candy fluff Easter nest for my Mom – including 3 polymer  eggs! This was great fun to do – and I have other nest ideas for my art journal that I just didn’t get completed in time.

IMG_7914

One of these things is not like the others….

Please join us on the blog hop today and see what my talented team mates and out guests have created. 

Happy Spring! 

Guest Participants-

Alysen

Anita

Divya

Kathy

Kym

Mona

Rosantia

Sarajo

Tammy

AE team members-

Caroline

Cathy

Claire

Jenny (you are here)

Laney

Leslie

Lindsay

Marsha

Niky

Amulet bags: the March Art Elements reveal!

Welcome – to the March “theme” reveal over at the Art Elements blog! This month Cathy said “amulet bags”. (You can read  her introductory post with a bit of background information here.) This theme is so wide open. and so inspirational – and I was so very, very captivated…

I started with ribbon – and a nod to the inspiration of Heidi Kummli’s stunning ribbon bags. These are hand sewn, as I do not own a machine currently – and they are lined with a watercolor-y batik fabric. I was torn between reading hem – and letting the ribbon be the star…

ribbon

Sakura inspired amulet bag with bronze clay floral by Lesley. Turquoise eye amulet bag features a milagro.

I have a tendency – and a desire – to sit and bead at least a few minutes a day; my meditation. This month, much of that time was spent sewing and stitching…The following trio are sewn from a thin, butter soft leather. This was actually a pattern for a doll purse! The purples are a bit wonky, but the brown may be my favorite. It it the contrast of organic/soft leather and machined/hard metal in the vintage button? I am not sure – but I love it. These three have small grommets on the sides to attach jump rings…

mini satchel

Mini leather satchels await straps… 

Now – I have a plentiful stash of leather scraps. From Lindsay, from friends who are leather workers at Rennaissance fairs… This stamped leather was from Lindsay – and the natural edge is a thing of beauty. All I did was fold it up, trim the inside edge, and stitch the sides! The hole in the flap was there – so I made a loop and bar closure.

fish heather

OK – now I am on a roll – my tasted do seem to really like leather for this challenge. Two more – simple envelope shapes… One has silks stitched in; the other – can you see the wee grommets in the right hand pix? I wanted these to be wearable, and not to worry that the soft leather would stretch or tear.

beaded leather

Brass stamping of moon and star. Ceramic bead by White Clover Kiln. Perfect size for a gemstone worry stone. 

Last one – This scrap is thanks to Elisabeth – from my recent Girls Bead retreat! I let the scrap shapes decide on the amulets. And then charms and more charms! I am sorry that I don’t have any of these completely finished with straps etc. I do plan to… perhaps in time for my first Faerie Festival of the year?

asymetrical

Simple on the surface – and then charmed! 

I so enjoyed this theme challenge! I will be making more! Thanks to Cathy for the inspiration. Please check out the team’s creations, and our guests this month:

Guests-

Samatha Wescott
Oksana Bevz- 
Genevieve Camp-

AE Members-

Caroline
Cathy
Cooky
Lesley
Lindsay
Niky
Sue

Draconic inspiration: the theme reveal at Art Elements!

Here be dragons! 

When Niky posted the theme for December it was instantly inspirational!  I count myself lucky to have many visual artist friends and I shared some of my dragon favorites earlier on this blog. I love dragons versatility. They are creatures of air, earth, fire… They appear in myriad forms across all world cultures. For this month I worked with a vintage image and one of my original carvings:

First up – this archaic watery dragon pictured on the top right. I cast a vintage button – and cast these in porcelain. Infinite possibilities.

Below ( bottom right) are mu original hand carved dragons. These are cast in stoneware and I was really delighted/surprised with the intense colors! They were fired to ^10 in a gas reduction kiln – known for earthier tones, not usually such intensity. (This is one reason I love AMACO velvets. )

Last but not least I pressed a few polymer dragons. The one pictured here feels Art Nouveau – and I love the copper patina paint finishes.

cabs-pendants

Dragons are available in the Art Elements Extras destash group on FB. 

The polymer dragon I kept was treated with Swellegant paints/patinas. I used an iron base with a rust patina and color accents. It makes me think of sunken pieces of eight recovered from a deep ocean wreck. I beaded the bezel and then was stalled: tiger eye vs tiger iron? Both colors in the cab, but which to accentuate?

img_1890

img_2284

The finished pendant – with pearls, citrine, goldstone, tiger iron.

The finished piece! Beaded… I added citrine and copper pearls since I had chosen the red tiger iron. I am really pleased with the results – and I love the effect of the red-orange lined yellow seed beads.

details-dragon

Details of the crusty patina and the gems.

Bonus dragon: vintage image, applied as an image transfer to a polymer cab. (Banner photo: includes red City of London dragons and the Welsh flag. )

img_2290

Bonus dragon: image transfer onto polymer

Thank you Niky for setting us of on this path! I have more dragons flying around in my head. But for now – please join us in this reveal blog hop!

Guests

Shai Williams

Kathy Lindemer

Anita Rao

Kelly Rodgers

Tammy Adams


AJE Team

Susan

Cathy

Jen

Niky

Diana

Laney

Caroline

Claire